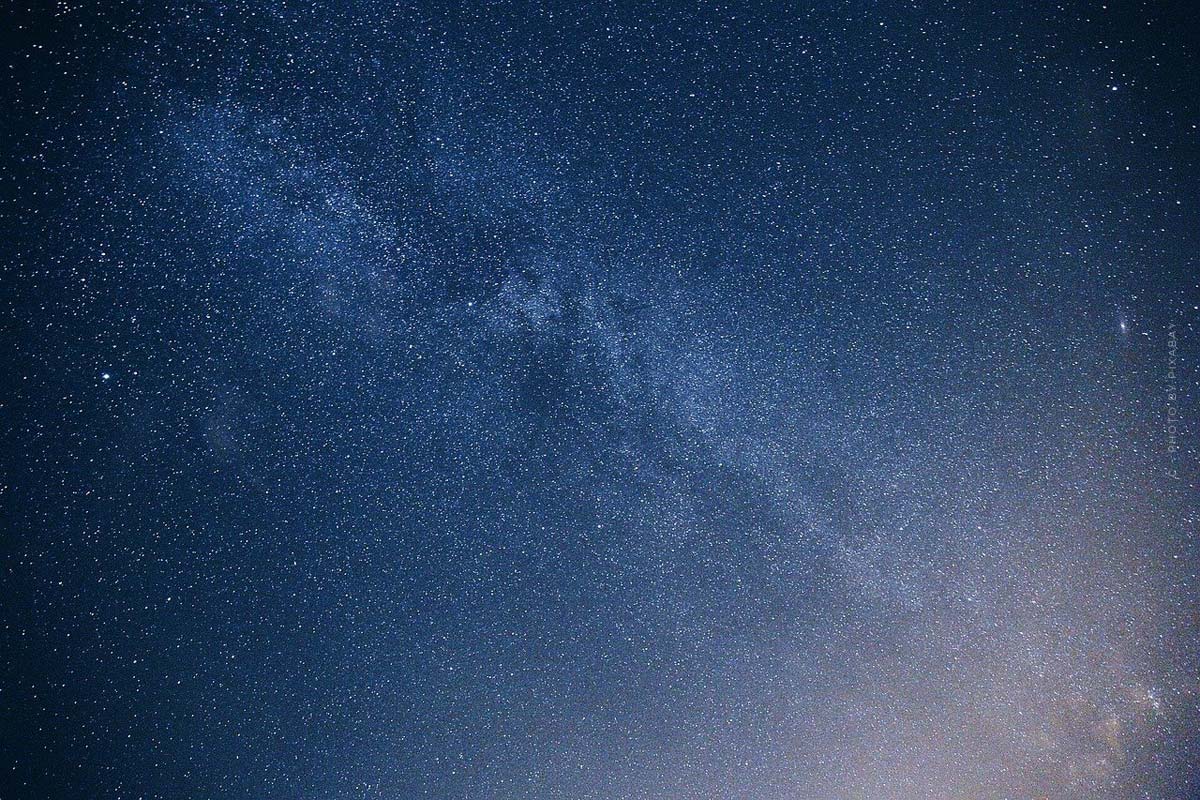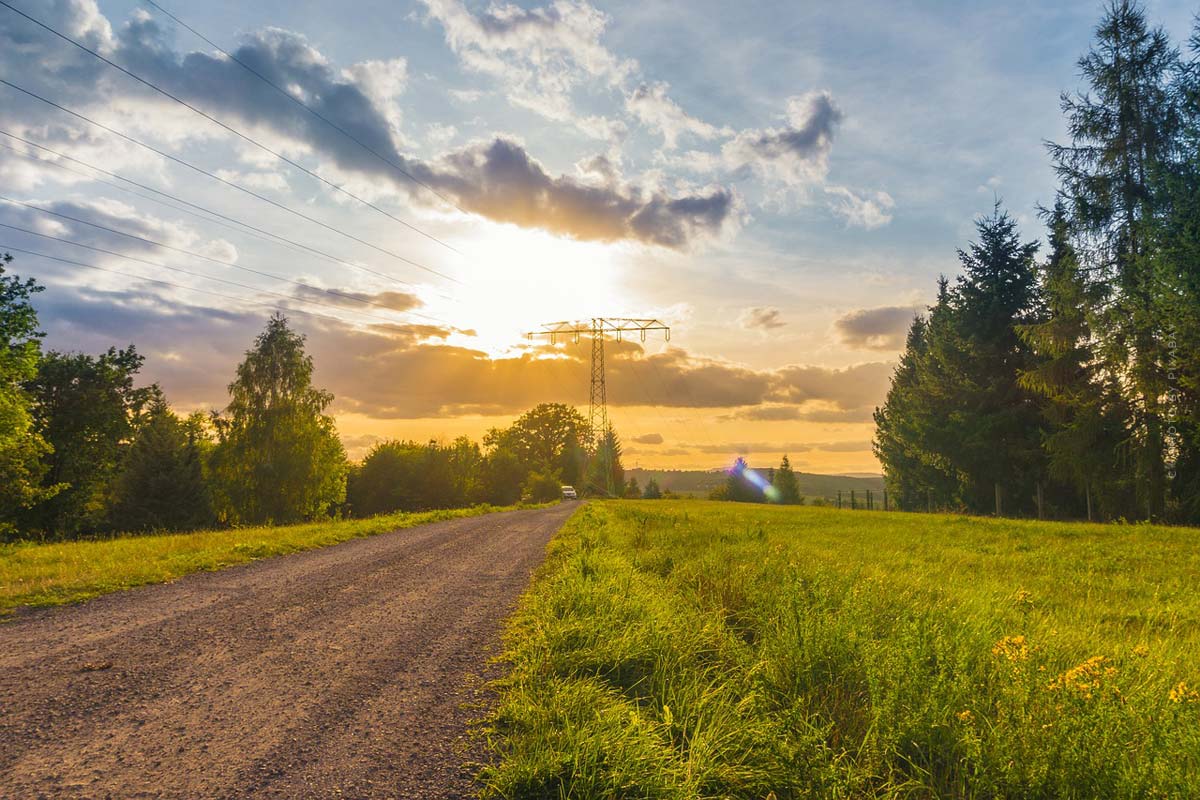
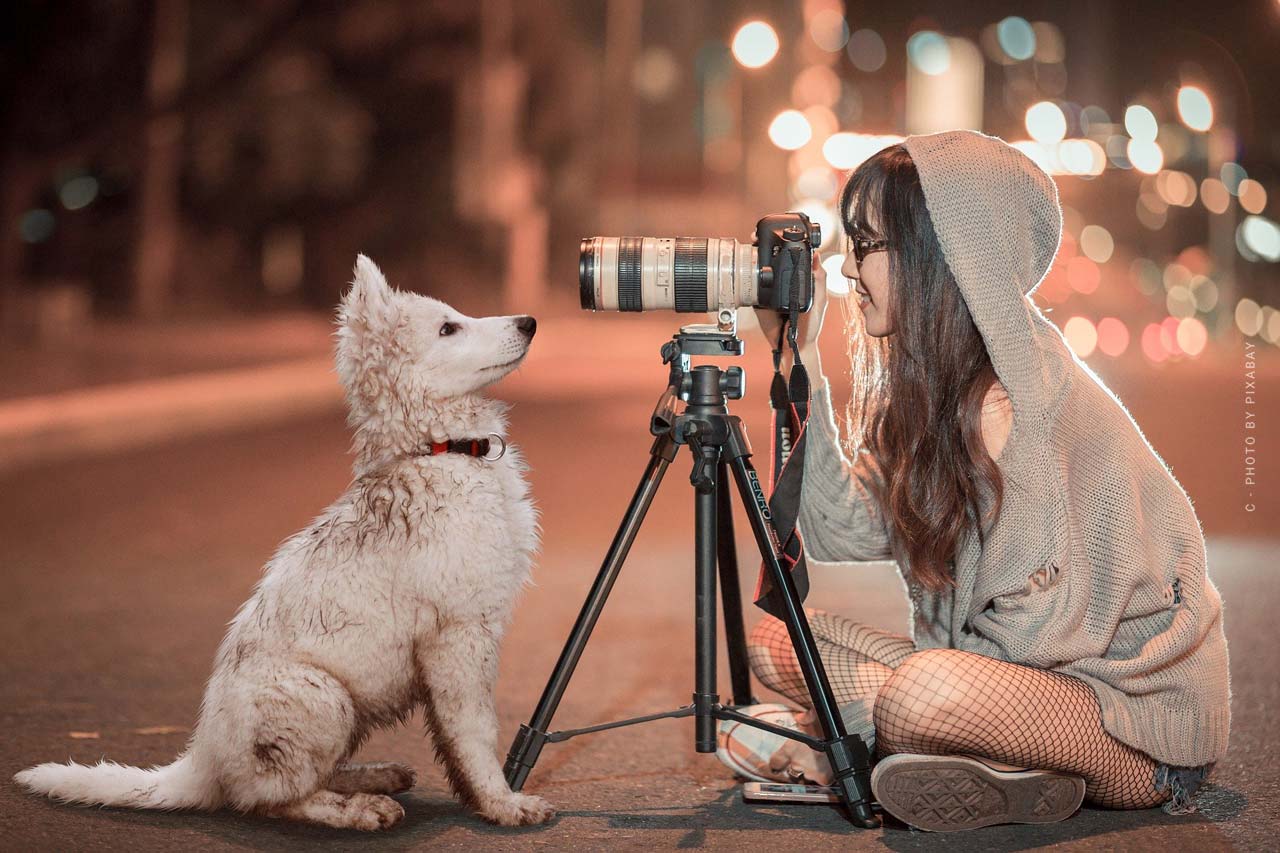
Night photography: Photography with long-time exposure, remote shutter release and flashlight
Photography does not always have to take place during the day. The night also offers exciting motifs, lighting effects and moods. If you pay attention to a few points in night photography, nothing can go wrong.
Night photography needs long time exposure and the right tools
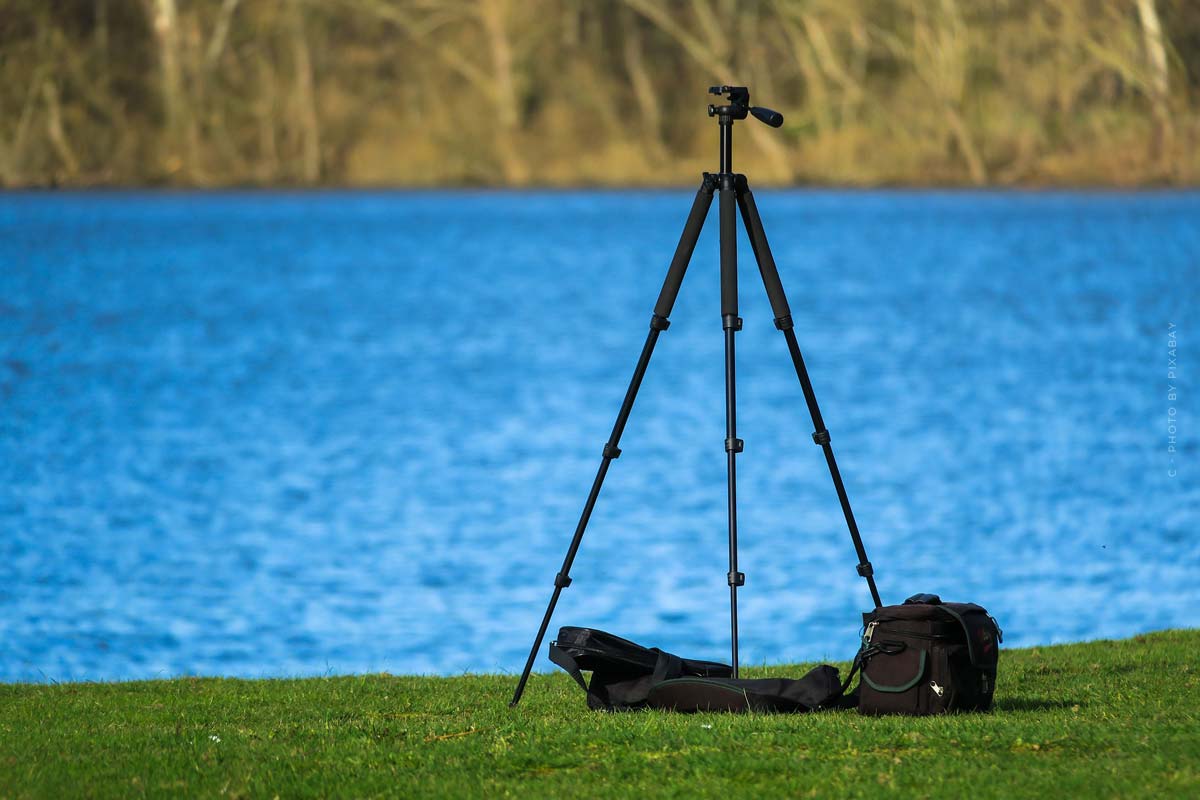
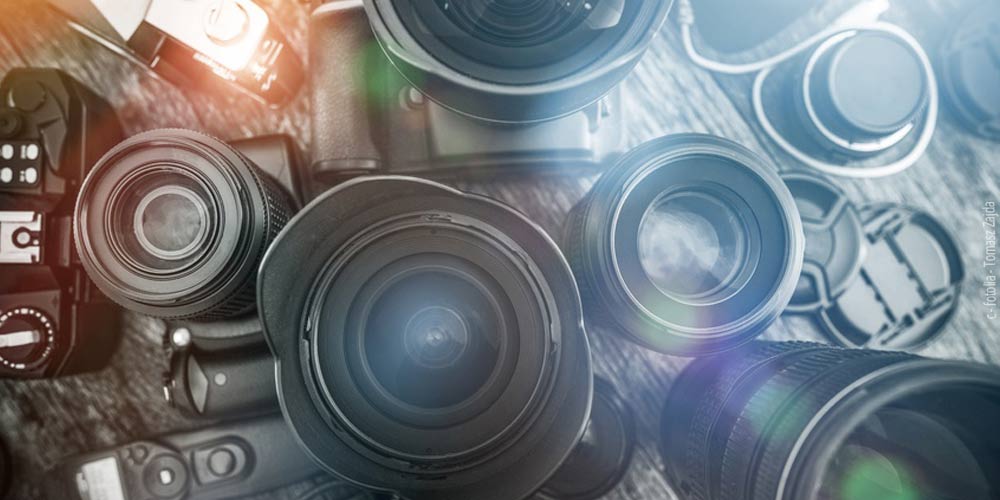
If you want to bring enough light on the sensor at night, so that a correctly (or in your sense) exposed photo comes about, you need a correspondingly long exposure time. At night we are fast in the range of several seconds. You can’t hold the camera still that long, so you need a tripod. On some advisor websites you can read that a tripod does not necessarily have to be expensive.
Don’t let that get you confused! Buy yourself a decent tripod that’s really worth something. For this, one or two hundreds have to be invested. A bad (cheap) tripod is just a nuisance that nobody needs. When shooting with a tripod, it is advisable to turn off the image stabilizer. First of all you don’t need it with a tripod and secondly it generates a slight blur.
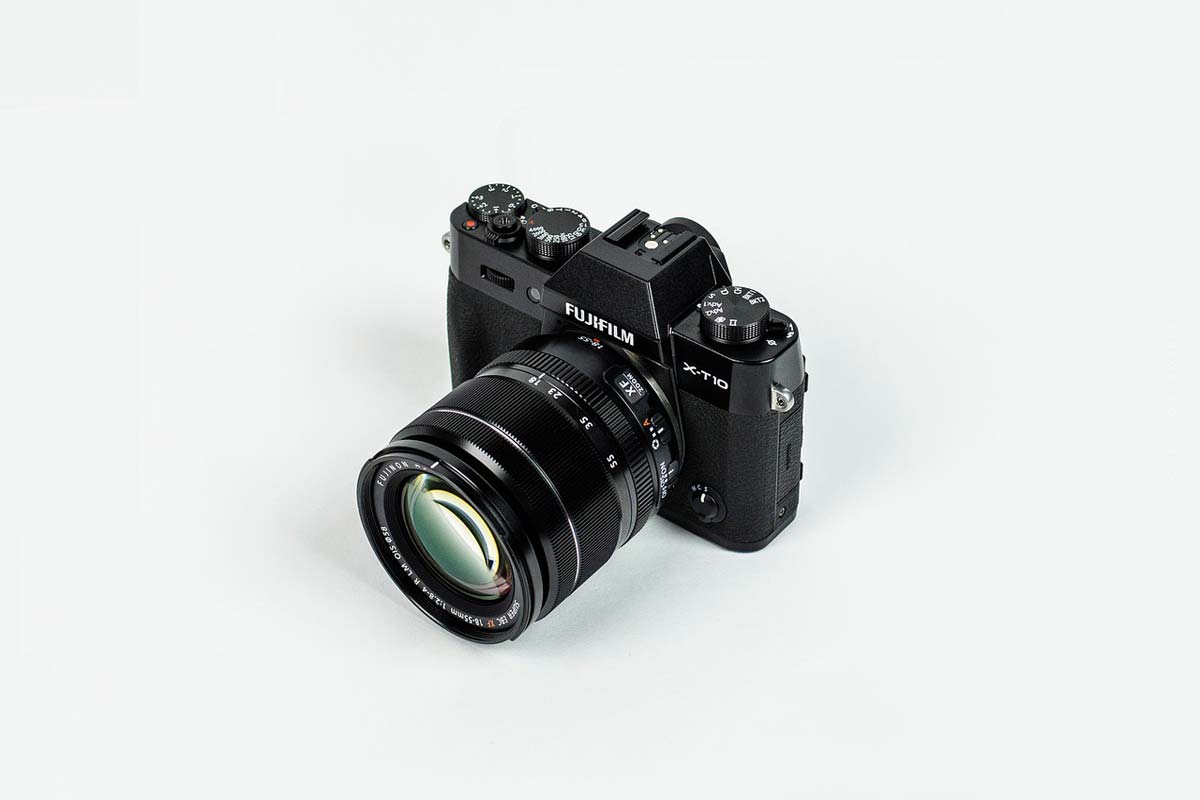
Furthermore, it is advantageous if you buy a remote trigger or alternatively trigger it with the timer. Because even if you touch the camera to press the shutter release button, it can still cause camera shake. By remote trigger, timer or even Smartphone – App this can not happen. If you want to use the timer, choose the 10-second variant if possible. Until then, the camera has calmed down after the shutter release button is pressed. To be on the safe side, you should also work with the mirror lock. Even a folding mirror in the camera can cause vibrations that can lead to blurring.
Night Photography: Bulb, Remote Trigger, Mirror Lock and a Flashlight
Of course you can set the exposure time in manual mode on the camera, but only up to a certain time. For everything that goes beyond that, there is the Bulb mode. In this mode, the camera starts the exposure after pressing the shutter-release button or remote control and stops it only after releasing the shutter-release button. This way you can theoretically expose all night long. A long exposure time involves a larger amount of data, so it is recommended to use a memory card that is as fast as possible and can cope with the amount of data well and quickly.
When taking pictures at night, the ISO value should be kept as low as possible in order to avoid unattractive noise, similar to daytime photography. This occurs preferentially on black surfaces, of which there are quite a few at night.
Focusing at night is difficult to impossible, because the camera doesn’t see anything. Depending on the subject you can help with a flashlight, but the best thing is to focus manually. In order to monitor the image quality, you can stick to the histogram that your camera provides with each image at night (but also during the day). There you can see if it’s overexposed or underexposed. The same applies to handling the aperture at night as during the day. A larger aperture value will result in more depth of field. Then it’s up to you what you want.
Result: Great night shots with small aids
The night offers numerous beautiful motives. Moving lights, stars, the moon. But also illuminated buildings like churches or castles stand out from the night sky and offer a majestic view. For night photography you need a few additional tools such as a tripod and remote shutter release. But this opens up an additional dimension of photography. It’s worth it!
Stefan Milev in an interview: Artist & photographer - Shadow & light photography

Julia Blank in an exclusive interview - Later entering the creative industry, the profession of photographer & the importance of talent
Photographer Anna Grewelding - First Canon camera, path to internationally successful photographer & GNTM shooting
Susanne Nevermann: Career as a photographer - Portrait, Beauty & Fashion

Photo studio Cologne - recommendations for your photo shooting: portrait, fashion, product photography & Co.

Künstlersozialkasse - Minimum income, contribution, allowance: Who should join?