Optimal photography of stars: Polarstern and Milky Way
Clear skies and the lights of the big cities are far away. There are still some good places for razor-sharp night photos of distant stars and glowing meteorites. Those who have found such a place should have the right equipment and know how to transform the breathtaking events on the nightly screen into impressive pictures. It’s not that difficult if you follow the following little guide.
Plan and prepare star photography well
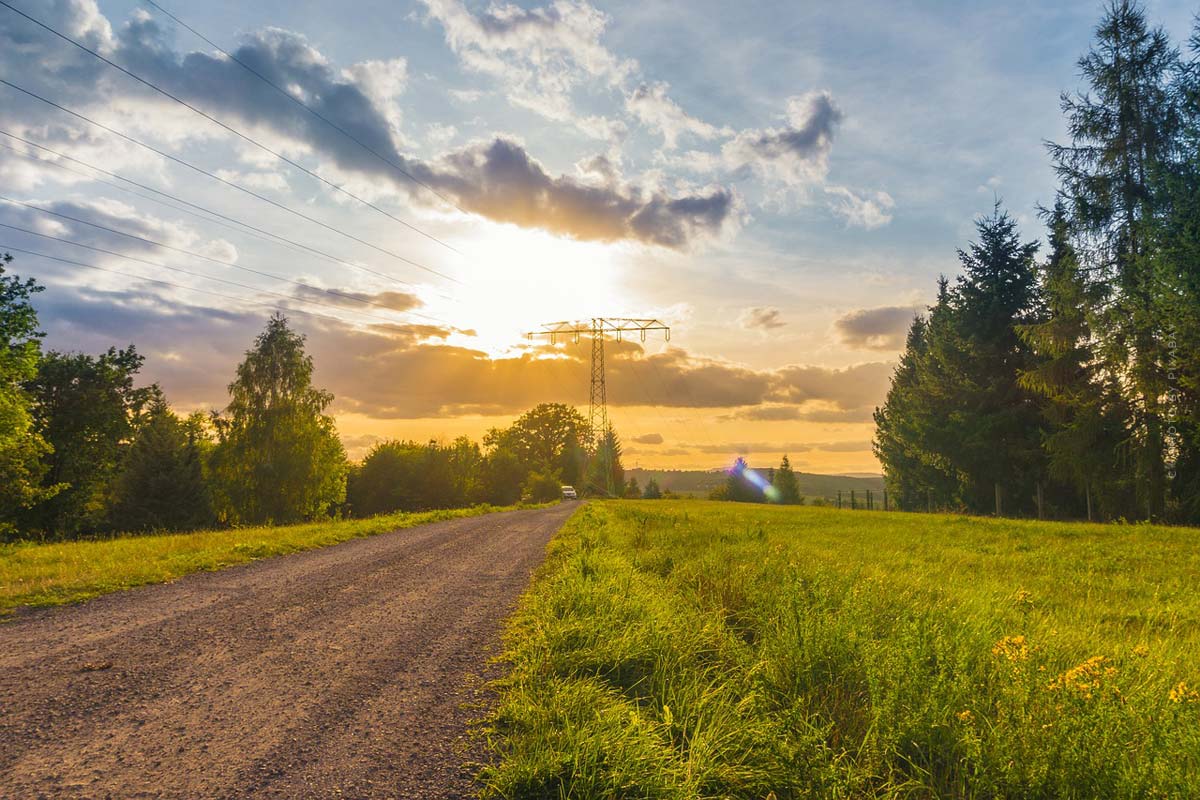
There is no room for spontaneity when photographing celestial bodies – good planning is called for here. The nightly location should be chosen very carefully. What is needed is a dark area, far away from the halos and light pollution of large cities. The darker the area, the more stars are visible.
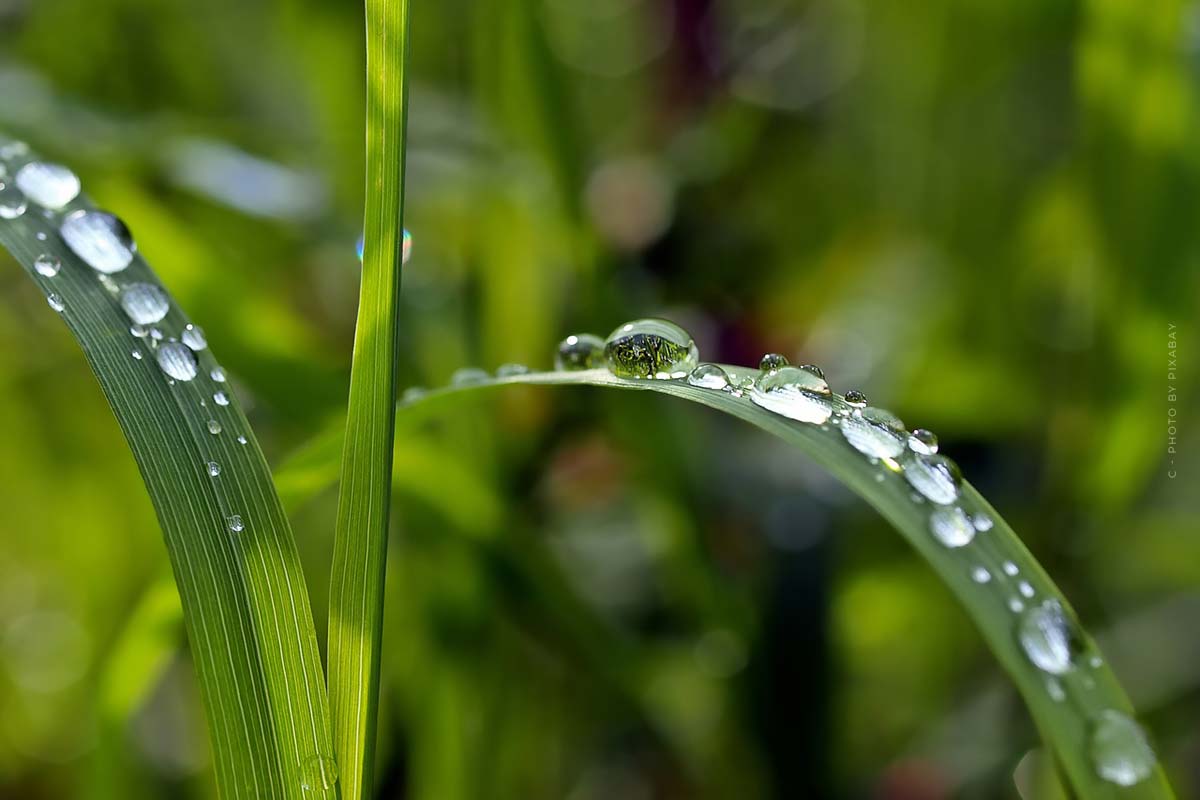
As an anchor for the photos you should look for a nice foreground. Unlighted buildings, fences, trees, rock formations, lakes etc. are suitable. An interesting foreground gives a photo an individual character. Information about local weather conditions is also helpful. What is needed is a clear, cloudless sky. High humidity is also not good, as this can lead to blurred images. Bright moonlight unfortunately outshines many stars, ideally a time should be chosen for the photos when the moon is not visible in the night sky.
The wandering of the stars over the night sky is mostly caused by the rotation of the earth. For best results, the camera should be oriented north or southeast. The axis of the earth points exactly to the polar star (north star), therefore it does not change its position in the course of the night. While it can always be found in the same place, the other stars move on.
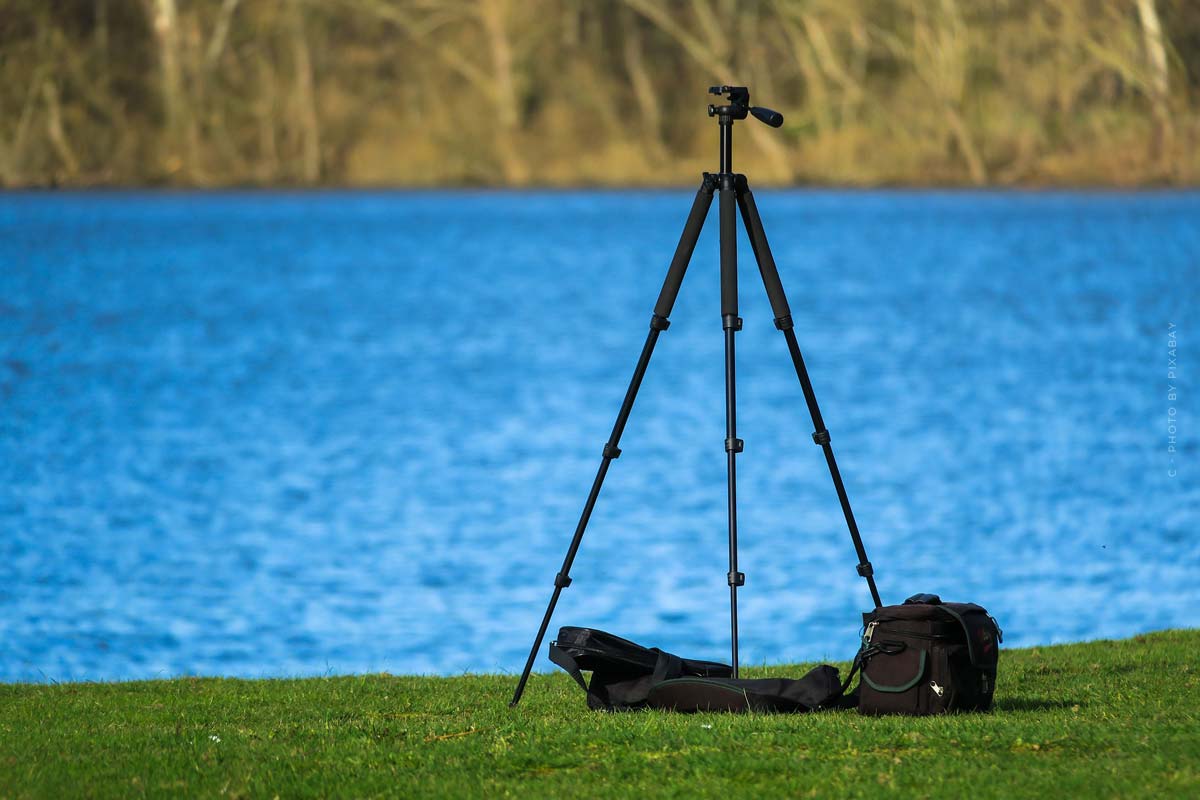
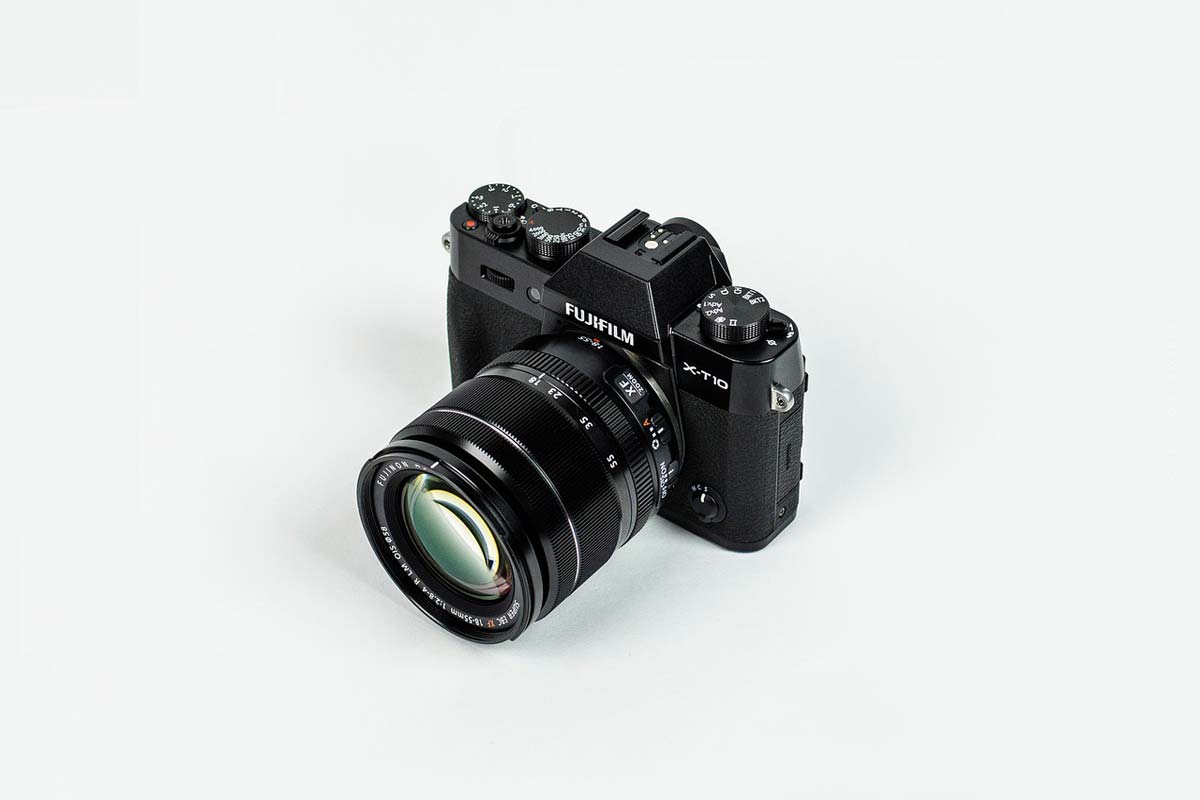
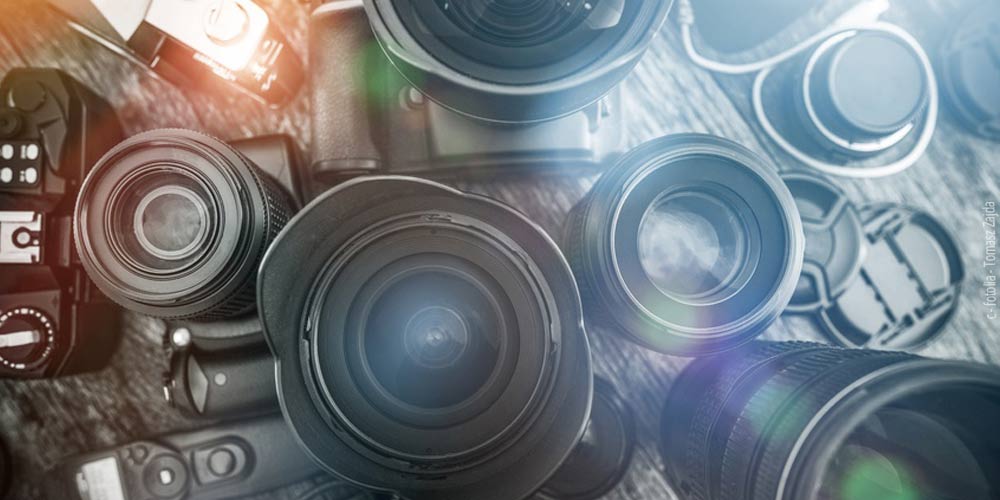
How your star photography equipment could look like
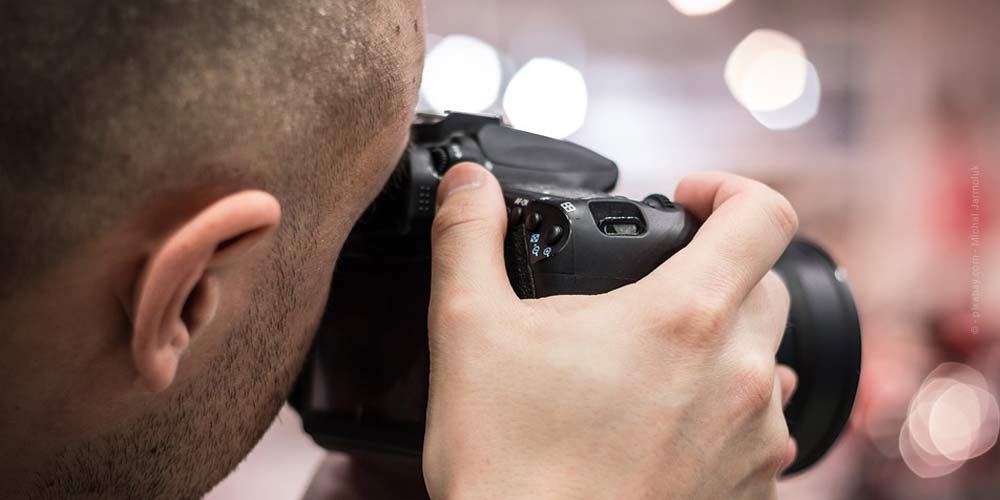
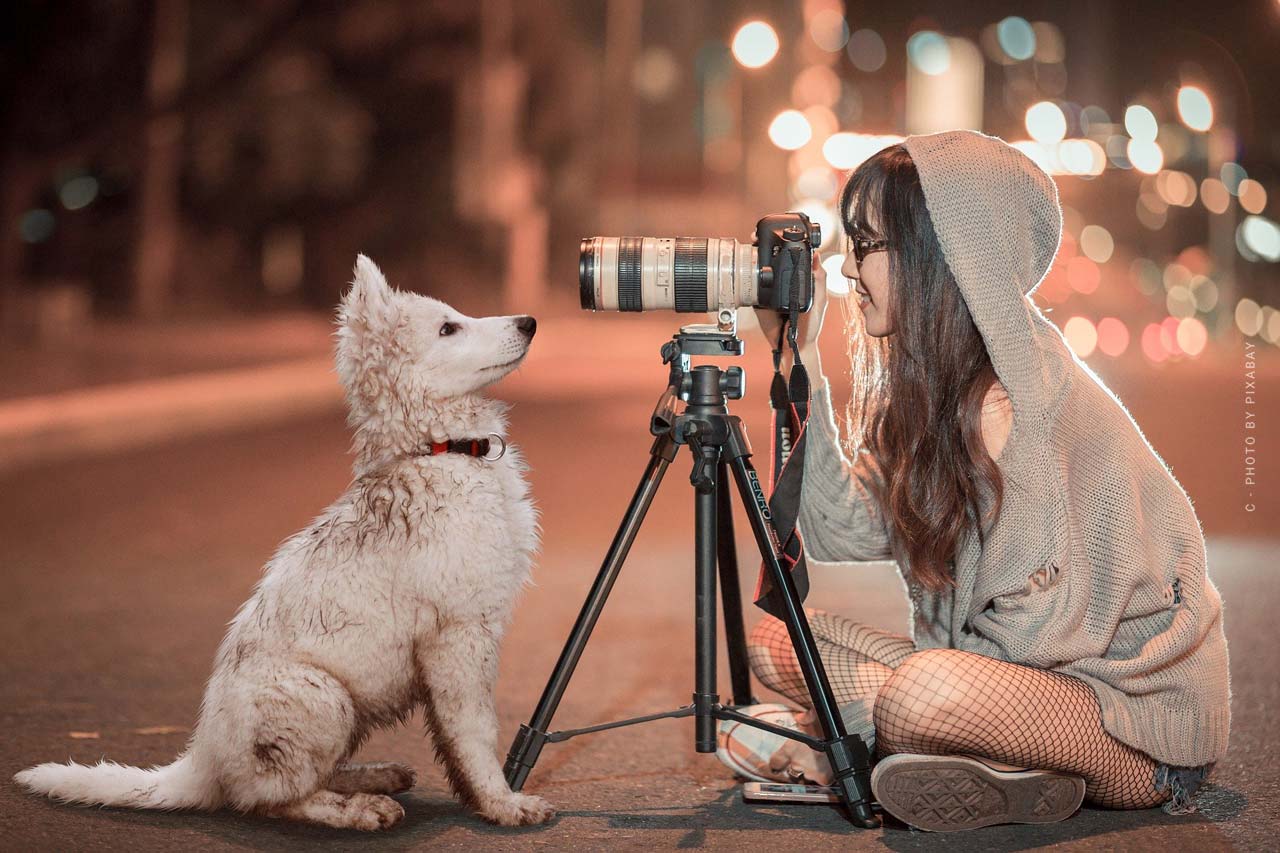
A DSLR camera or a camera with manual recording mode and fully charged batteries are the basic prerequisites for successful photos. Likewise a stable tripod, even passing game can cause shocks. A wide-angle lens (10 to 20 mm) provides the best results. You can also shoot with a longer focal length, but the wide aperture of the wide-angle lens allows for much lower ISO values and an impressive image width.
If there is a way to program your camera to take pictures at certain intervals, that would be ideal. Otherwise a remote control helps. There should be plenty of space on the memory card. The photos should be saved in RAW format to get better results during post-processing. And don’t forget coffee (or other drinks) and snacks, it’s gonna be a long night. Sometimes a warm jacket is also good, because the nights can get very cold here too.
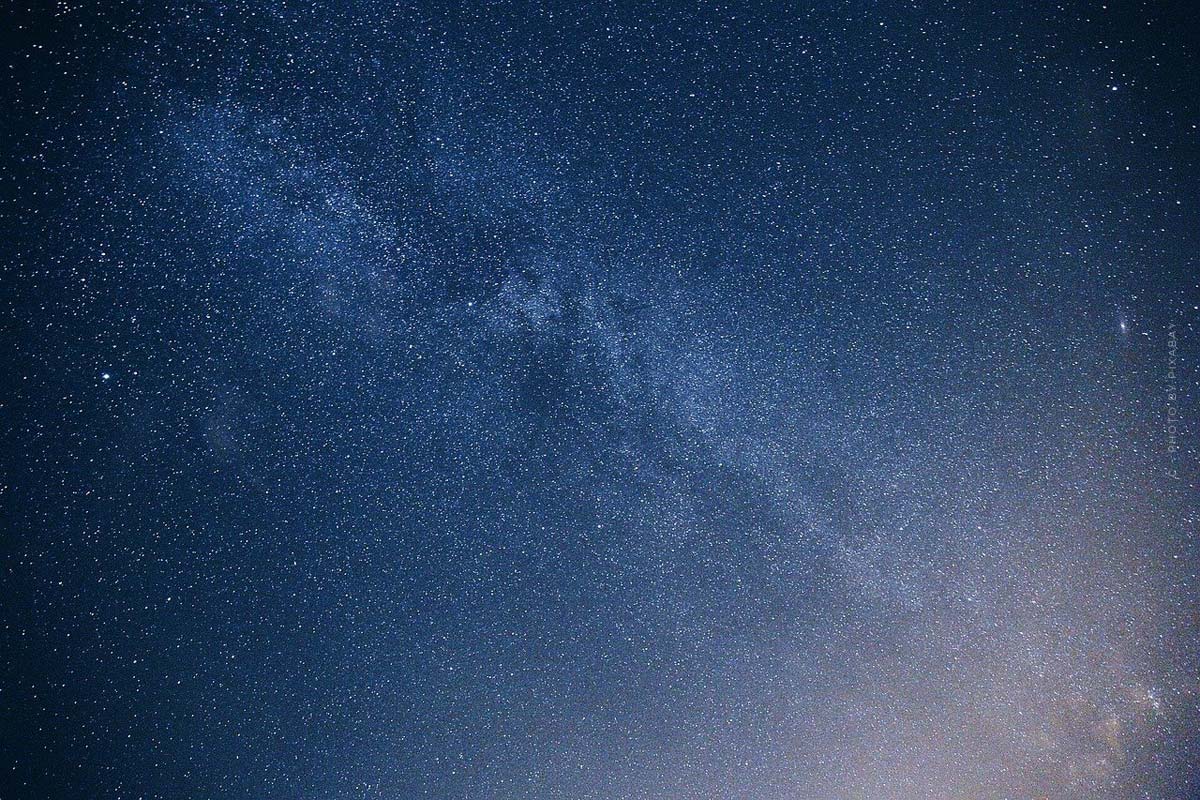
Clear sky – it can start
Because it can be difficult to set up the equipment in complete darkness, it is best to start in the last daylight. First you should place the camera and the tripod at the desired location. Align the camera to capture as many stars as possible. Take some pictures of the foreground in daylight with different ISO settings for post-processing. Switch the camera to manual mode and select the setting for serial photos. If you want to display the stars as a dot, open the aperture completely and expose the sensor for about 30 seconds.
Depending on whether you want the sky to be brighter or darker, you should experiment with different ISO settings. If the result is satisfactory, save the settings. With an exposure time of one minute, the movement of the stars on the horizon becomes noticeable. If you want to show the star migration as a trace in the sky you have to make several interval shots. It becomes really spectacular when the traces of the stars stretch over the entire horizon. This often requires exposure times of up to 2 hours. Also here some experimental recordings are to be recommended.
Result: The perfect summer night and good equipment provide fantastic star images
With well thought-out planning, good equipment and the right viewpoint, spectacular shots of the night sky are not that difficult. With free software such as Startrails (Windows) or StarStax (Mac and Windows), the images can be combined in post-processing to a grandiose shot.
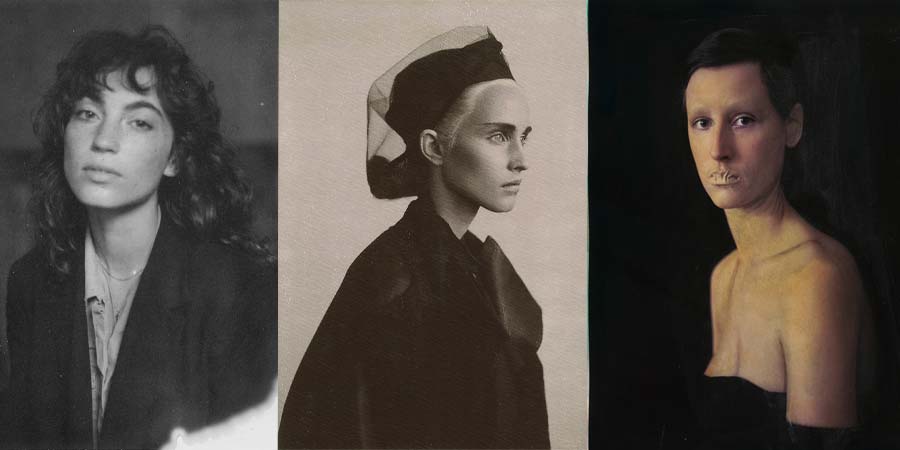
Stefan Milev in an interview: Artist & photographer - Shadow & light photography

Julia Blank in an exclusive interview - Later entering the creative industry, the profession of photographer & the importance of talent
Photographer Anna Grewelding - First Canon camera, path to internationally successful photographer & GNTM shooting
Susanne Nevermann: Career as a photographer - Portrait, Beauty & Fashion

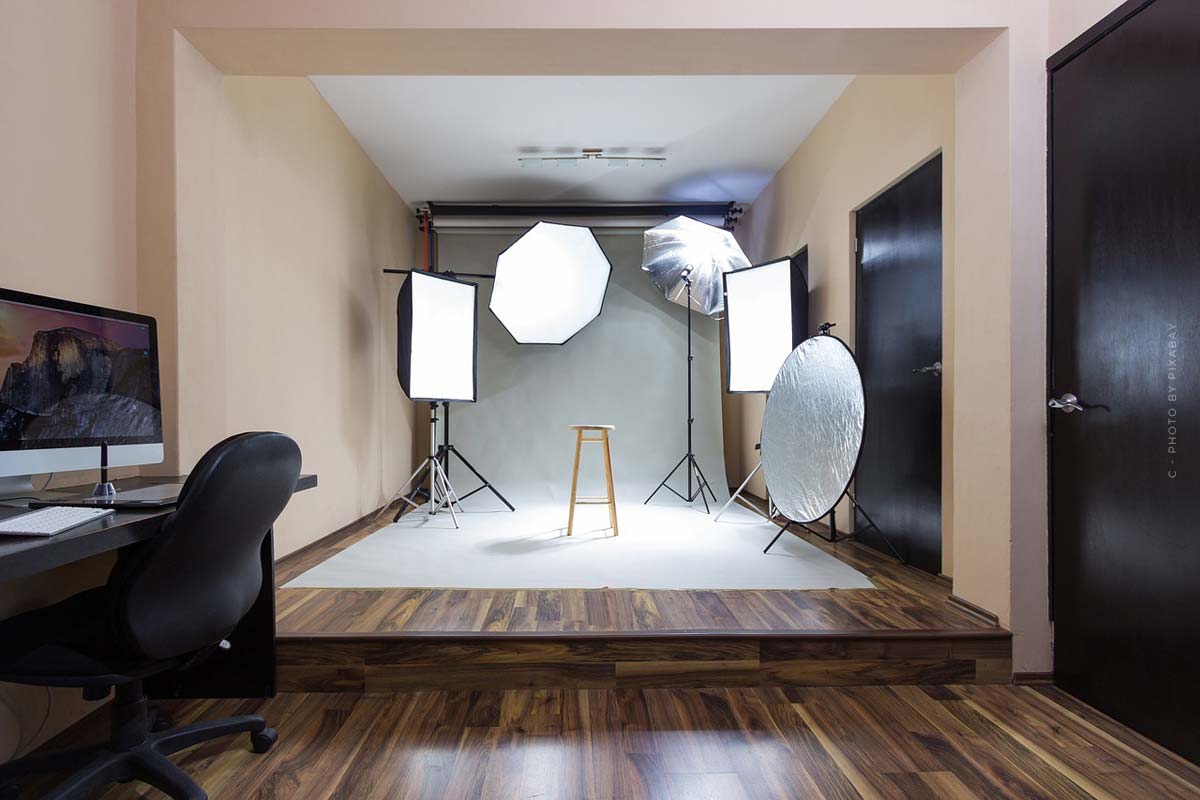
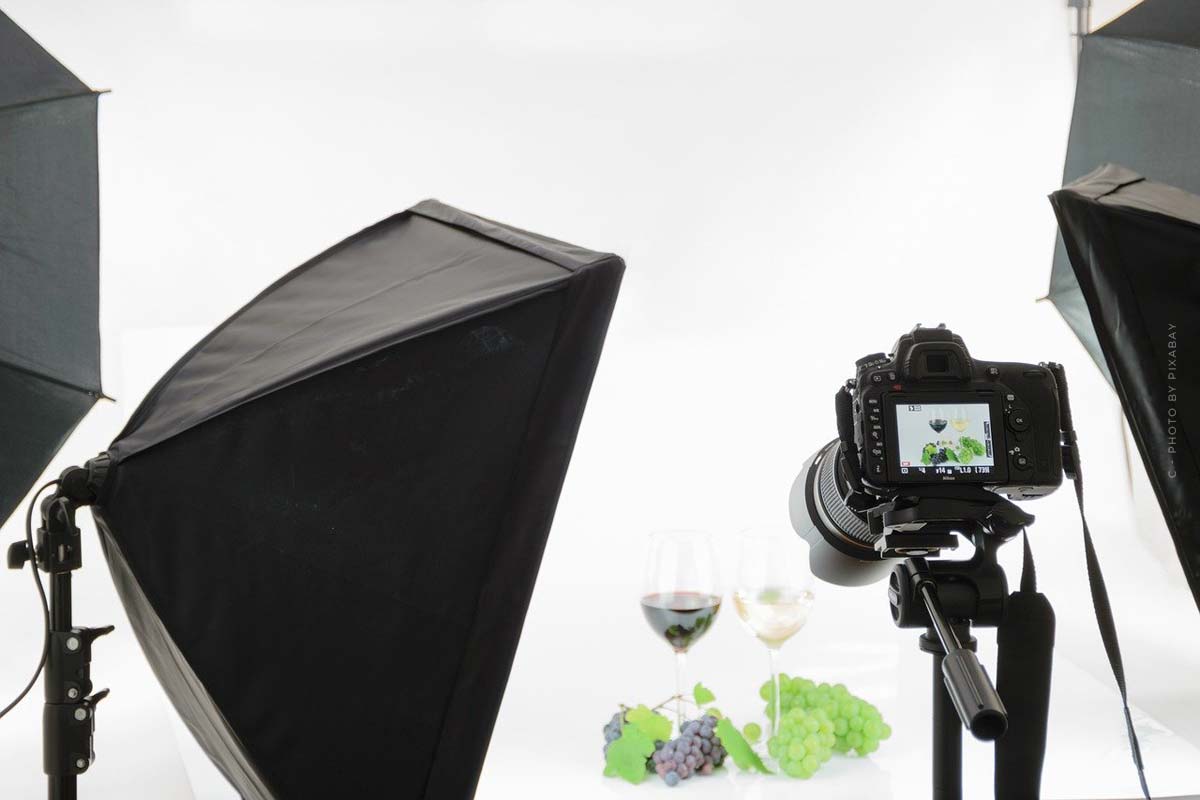
Photo studio Cologne - recommendations for your photo shooting: portrait, fashion, product photography & Co.

Künstlersozialkasse - Minimum income, contribution, allowance: Who should join?