
Jewellery photography-jewellery-photography-rings-camera-lens-equipment
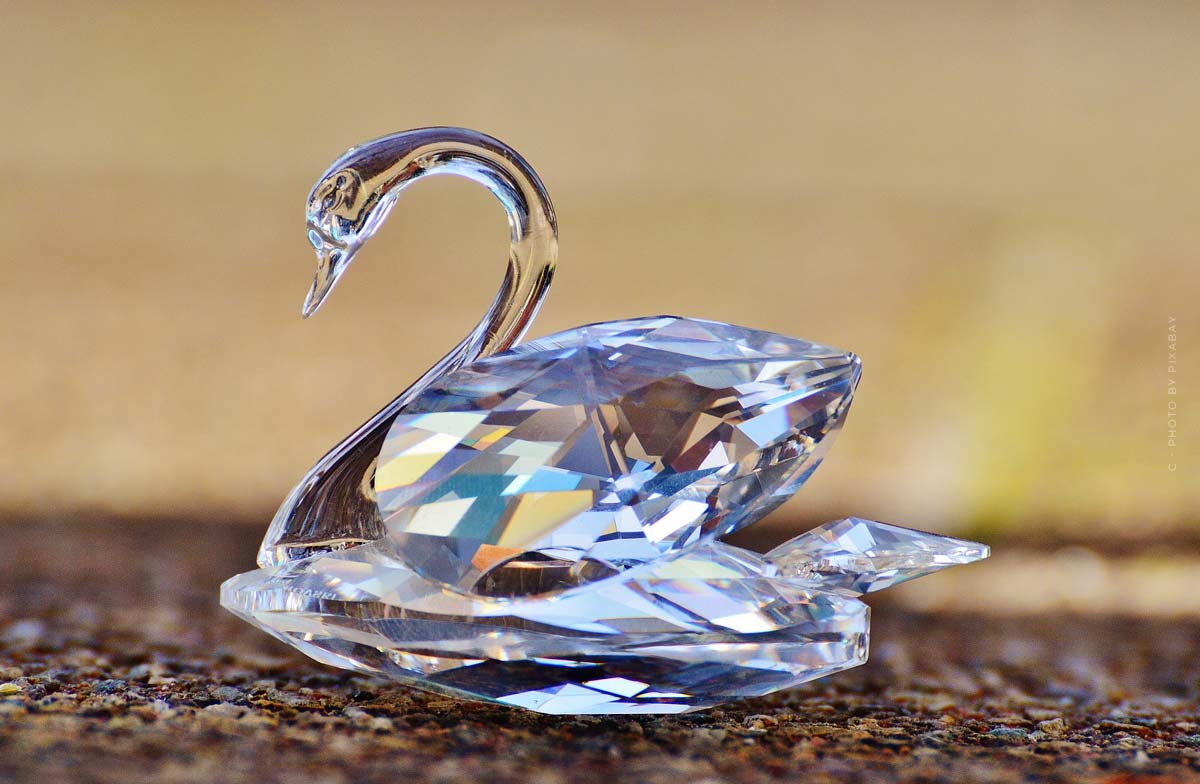
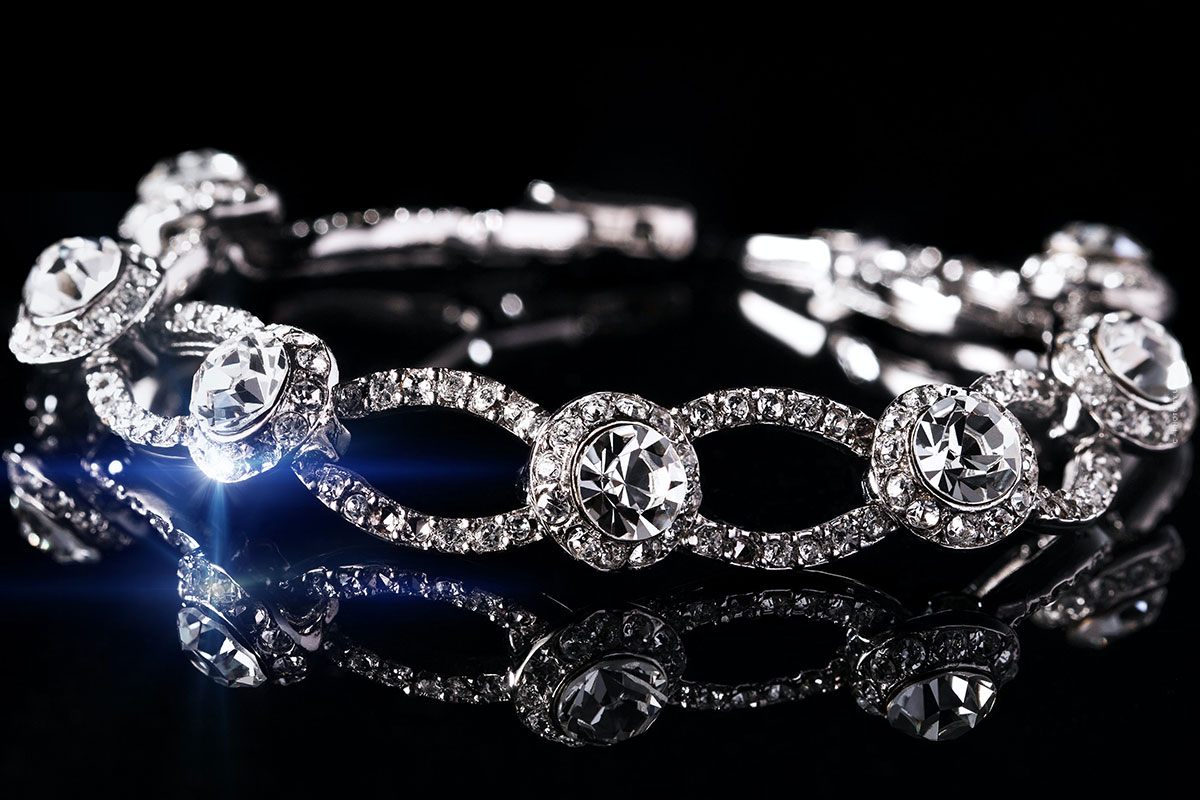
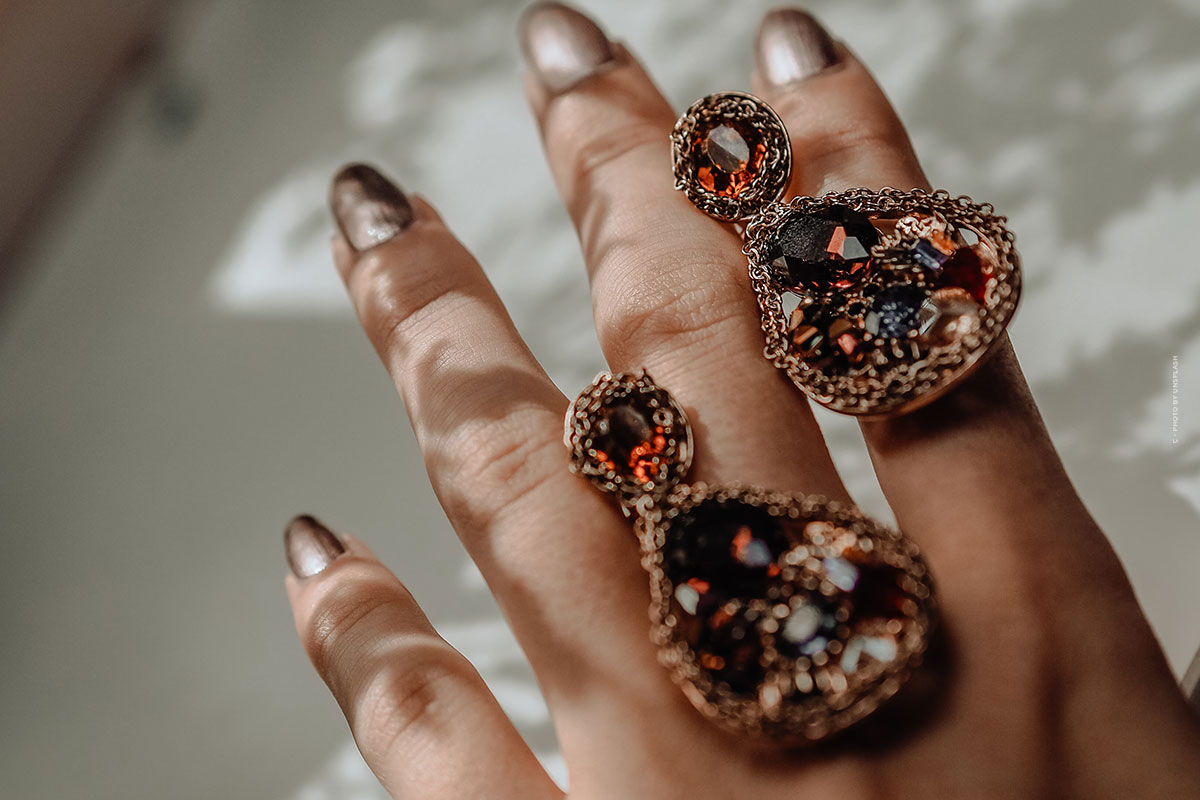
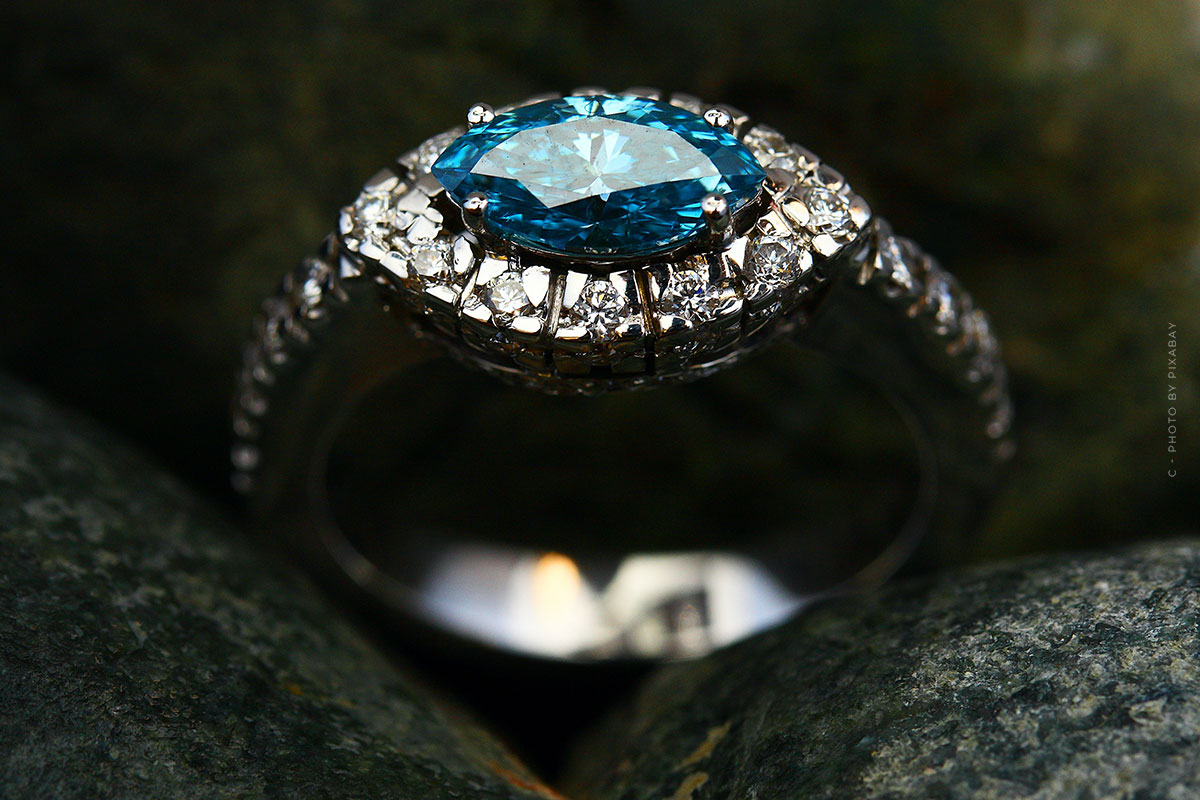
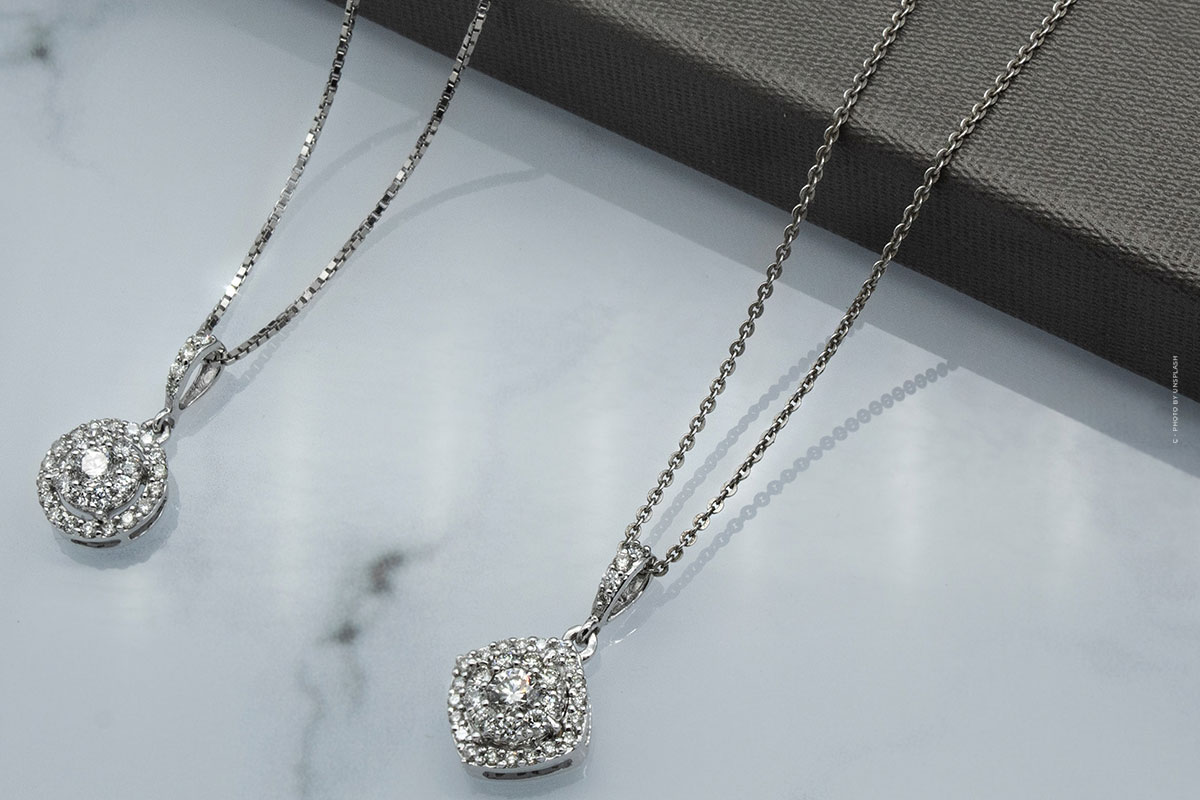
Jewellery photographers – jewellery is an accessory that must appeal to the customer directly at first glance. The brighter and more sparkling, the better. Accordingly, buyers prefer to choose their jewellery in the most beautiful glow. The selected accessory must be convincing at first sight, then it becomes a faithful companion in everyday life. Whether necklaces, rings or bracelets – jewellery belongs to every outfit and is the highlight of every look, which no woman should be without. The image that should appeal to the customer must therefore be very well selected. Therefore, as much shine as possible must be seen when taking a photo, preferably with sparkling details. Besides the optimal preparation of a photo shoot for jewellery, the right technique and lighting as well as attention to detail in the optically most favourable presentation are also important.
Which camera is best suited for jewellery photos?
Basically, even amateur photographers can take spectacular jewelry photos with an average equipped digital camera. The only prerequisites for success in photography are manual settings for image resolution, general exposure and contrast. In the best case, the image resolution should be as high as possible to get the final image as sharp as possible. In addition, there should generally be good light in the room and the camera should have a very good exposure function. The contrast function of the camera is also crucial for the image to convince the customer. I have summarized here once again which criteria are decisive on a camera to take good decorative photos that stand out from the crowd and thus convince the customer of the product.
- the image resolution
- the exposure
- the contrast
Besides a good camera with the qualities mentioned above, an image stabilizer is also advantageous to get a picture that is not blurred. This makes the detail shots particularly accurate and brilliant. All further preparations depend on the skill, talent and experience of the photographer. Before the camera even takes the first picture, some preparations have to be made in order to create an optimal product in the end. First of all, attention should be paid to the background, choosing a neutral wall and a suitable background. In general, the room should be well lit and should not cast any shadows or similar, so that the jewellery is shown to its best advantage. With a little practice and the gradually trained eye of a photographer, photographs can be taken as if directly from the jewellery shop. Those who like can even prepare the photo presentation in the style of the showcases of jewellery shops. Here, I have summarized once again the most important preparations that should be made before taking the pictures in order not only to shoot the perfect picture as a professional.
- an optimal background
- a good detail illumination
- an exposure-friendly object environment
the perfect camera mode
Not the average digital camera or the better SLR camera provides the perfect picture. The camera mode is also important. Beginners initially find it difficult to understand the abbreviations or use of these modules. Benjamin will explain the advantages of these modules in a few minutes. With these basics you can become a professional in the field of jewellery photography.
Dimmed light or better clear room lighting?
White, hard light is ideal for jewellery photos, which shines rather diffusely on the jewellery. Flash would cause reflections and sharp shadows, making the shot worse. LED lights, LED strips or energy-saving lamps are suitable as light sources. Fluorescent tubes can also be positioned above the jewellery (or directly below the tube). A trick against sources of interference such as reflections or cast shadows is a homemade light shaft.
A white ball, preferably made of plexiglass, is suitable for this purpose. If it still has an opening the size of a lens, it can be attached to the camera and thus act as a light shaft to optically isolate the piece of jewellery. However, this alone does not prevent unwanted shadows from interfering with photography. Therefore, it should be tried out beforehand in different camera positions in which position shadows fall least over or in front of the piece. Even slight shadows must be avoided for optimum illumination.
Professional use of light
To get a better insight into the world of light, you should watch the video. There are many differences to work with cameras, which are explained step by step in this clip. For a little professional jewellery photography, the A&O.
The optimal background for a successful jewellery presentation
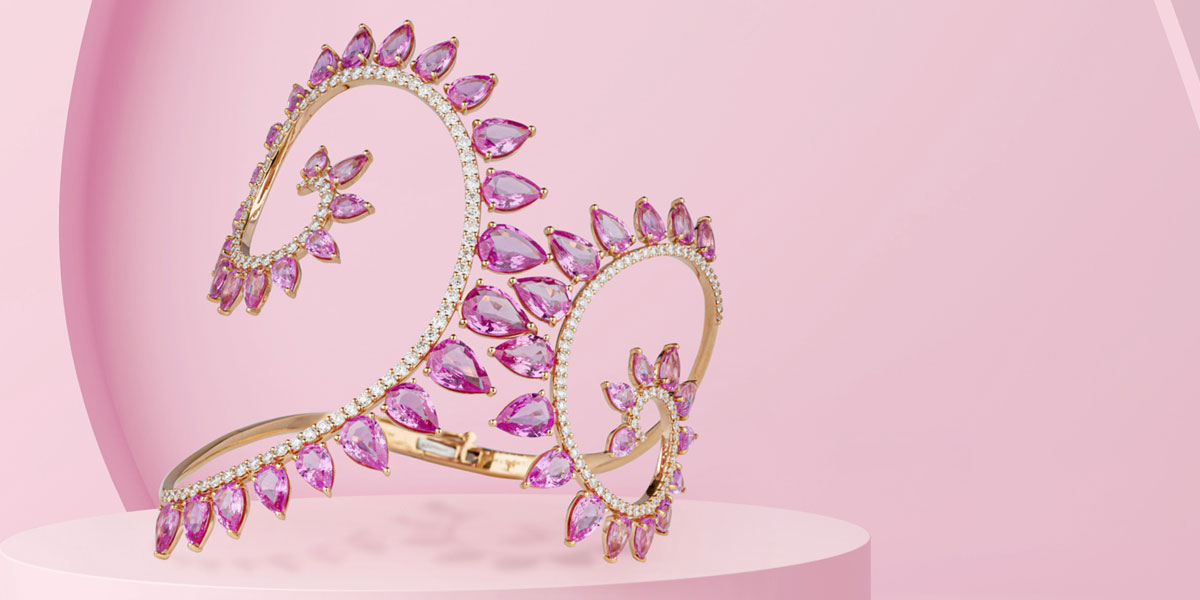
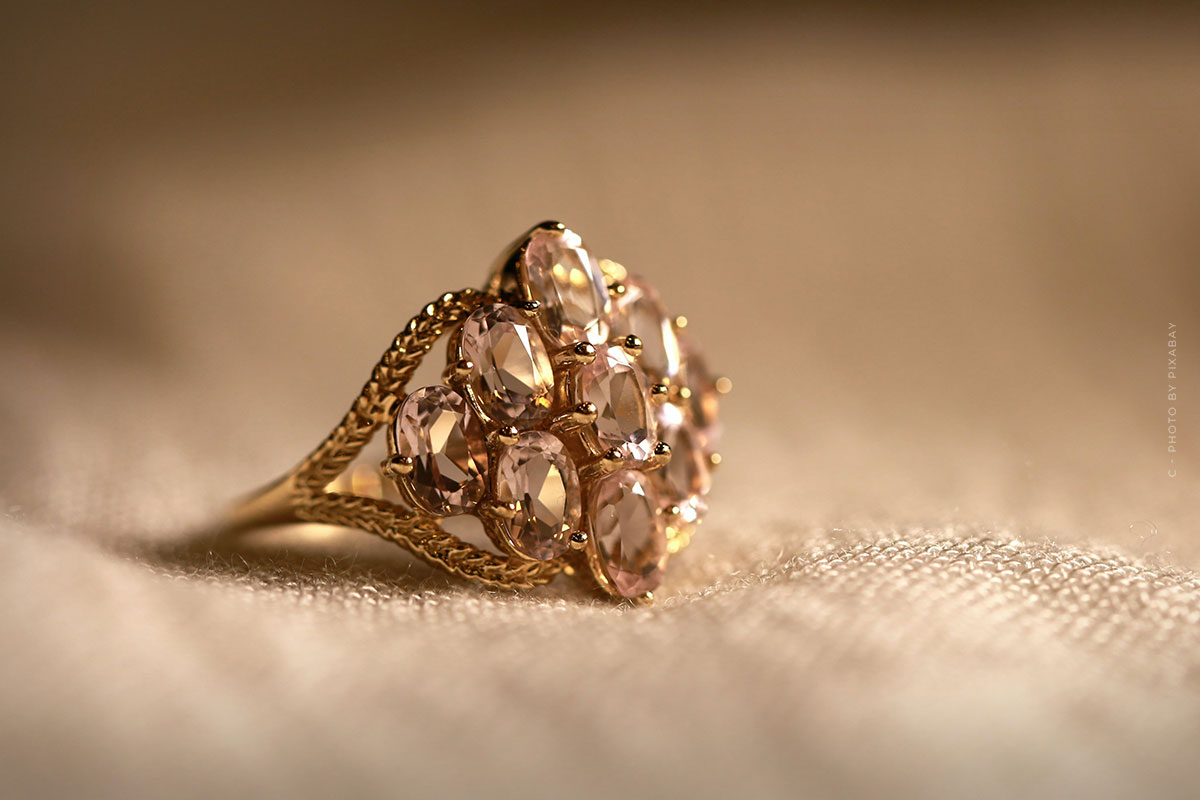
Jewellery should sparkle so that it looks even more noble. If the material of a piece of jewellery is rather smooth, for example the leather on a leather bracelet, a discreetly dyed silk scarf is suitable as a background, which can be arranged with a few soft folds. But the focus always remains on the photo object, i.e. the jewellery. It is important to bring out its details, i.e. to set leather softly in the light, to let gemstones sparkle or to set silver chains in the optimal shine.
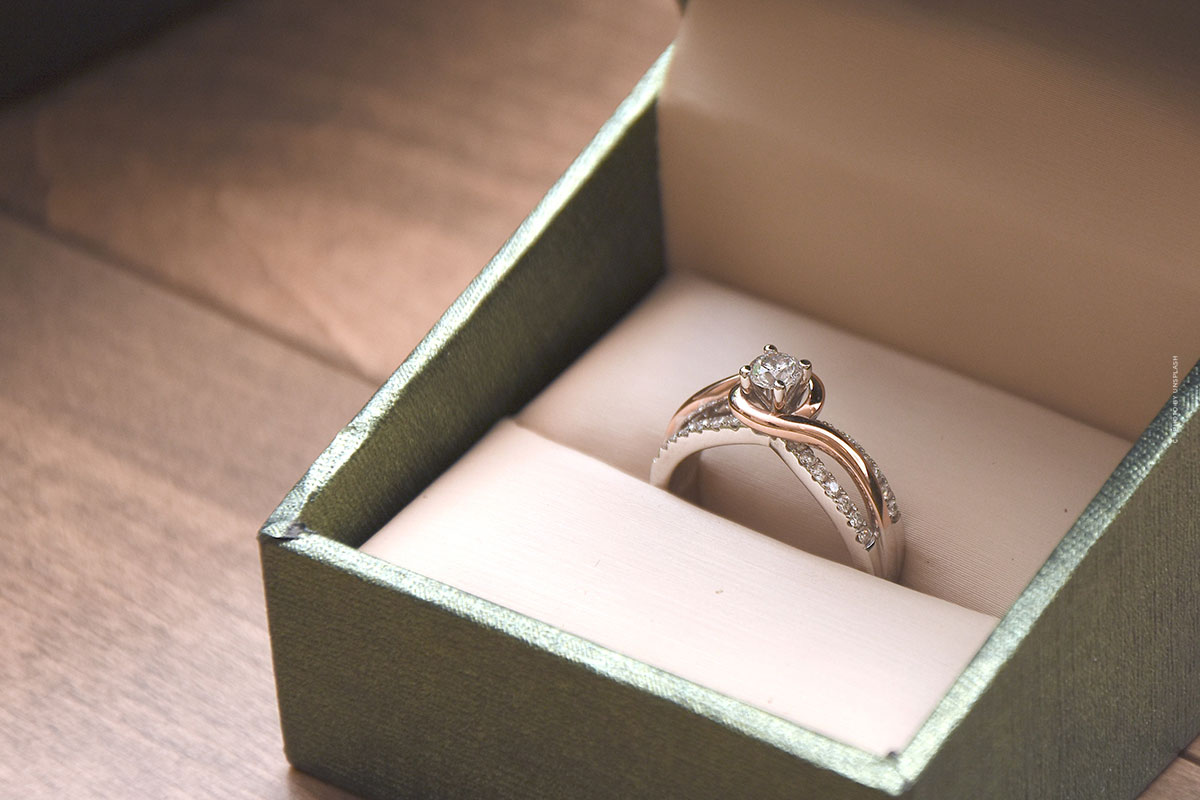
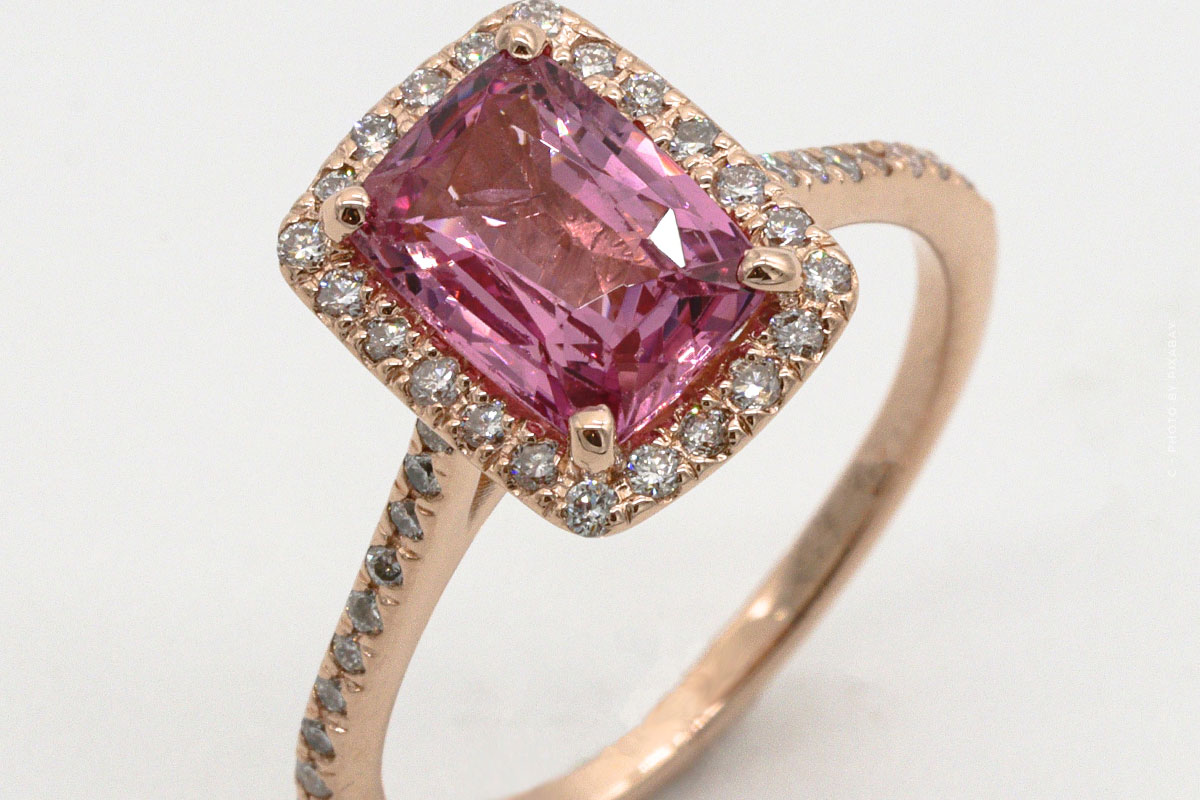
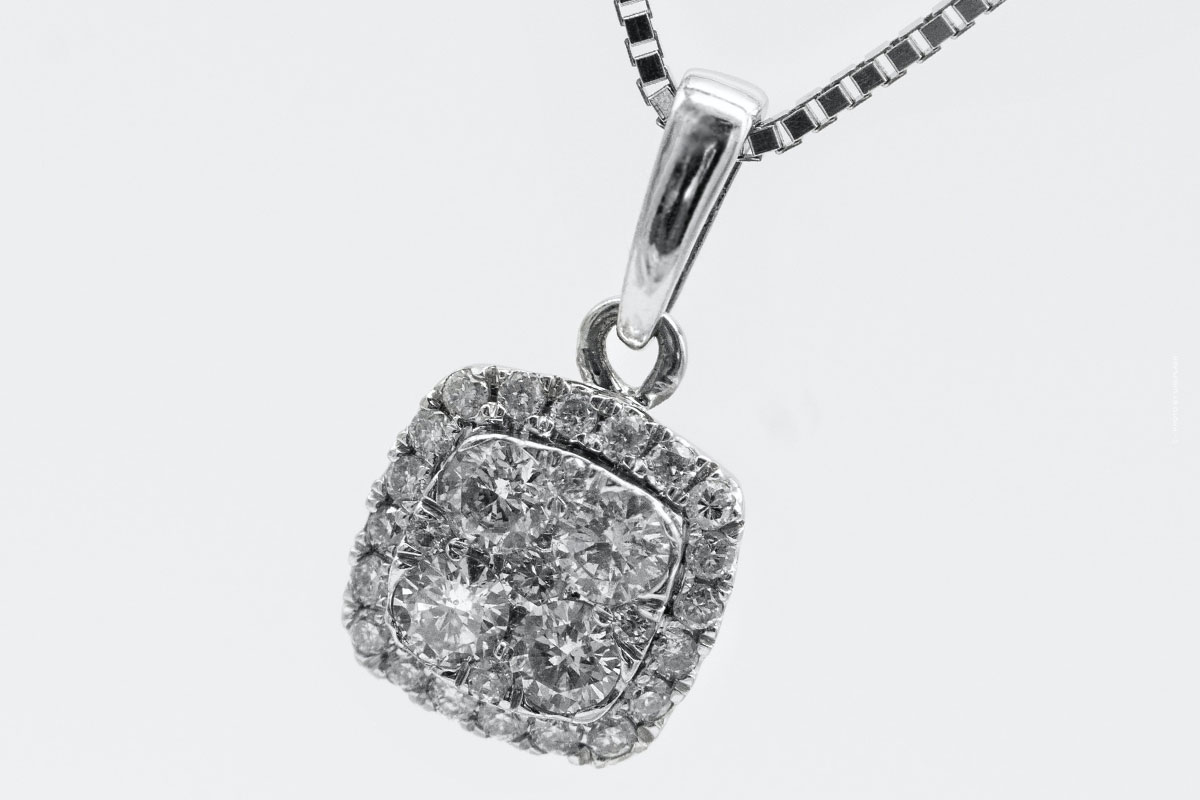
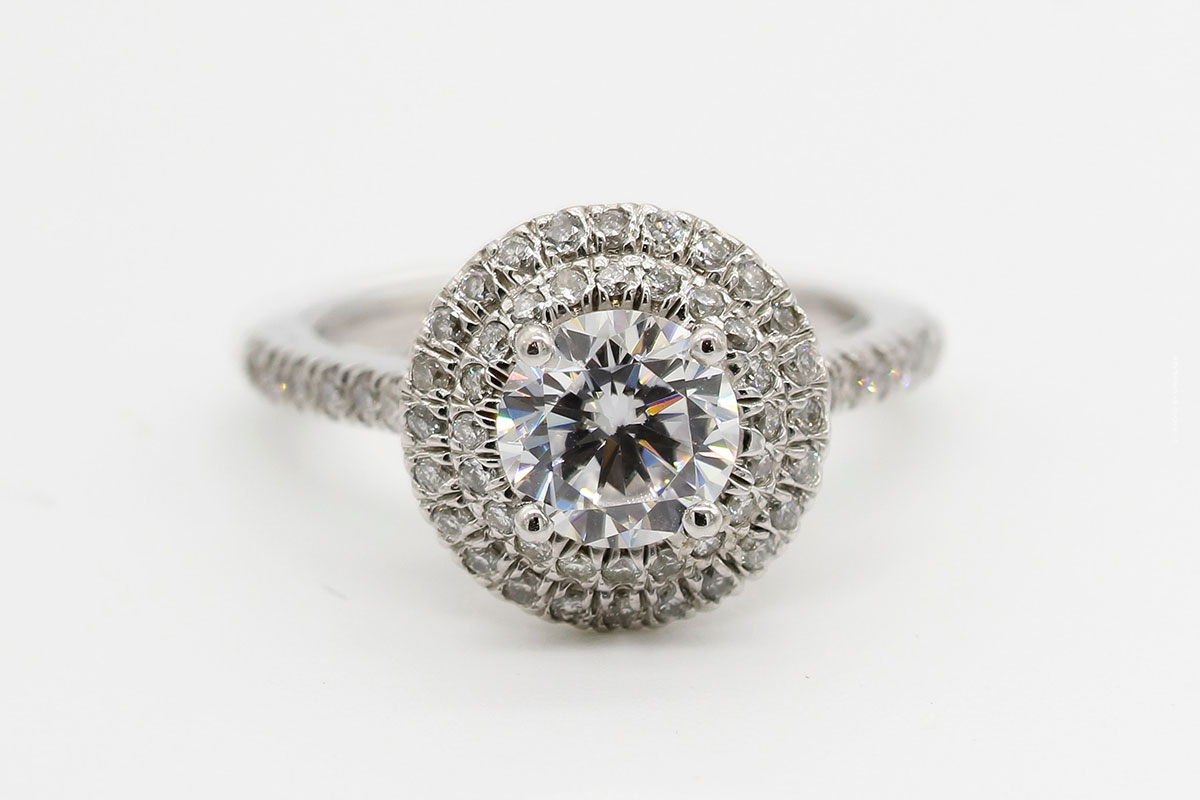
Close-ups in front of an otherwise neutrally arranged background enlarge the jewellery and show even the finest engravings or the special features of a stone setting. Instead of a dark background, light surroundings are preferable. If this is not possible due to the nature of the room, a desk lamp can help. In this bright spot, the jewellery is presented in such a way that the darker areas around the shooting location are not shown to advantage in the photograph. Even if the focus should remain on the jewellery, I have listed here again my top tips for the optimal background.
- discreet, neutral arranged background
- smooth jewel = silk scarf with soft folds
- bright colors & bright spot
- Close-ups make jewelry appear larger and highlight special features
Try it – Sakis explains how it works
Jewellery photography for catalogues, brochures, flyers or websites. You need someone who knows about this? In a few minutes Tony explains to you how to learn good and cheap jewellery photography. With simple tricks he shows you how to present jewellery.
Conclusion: With simple tricks, pictures succeed as from the jeweler shop
In order to present jewellery optimally for a photograph, different rules apply than, for example, in portrait photography. While contrasts and shadows create exciting visual effects there, both would only disturb the details of a piece of jewellery. The best way to take jewellery photos is to isolate the photo object from other shadow and light effects and to use as much natural daylight as possible as diffuse illumination.
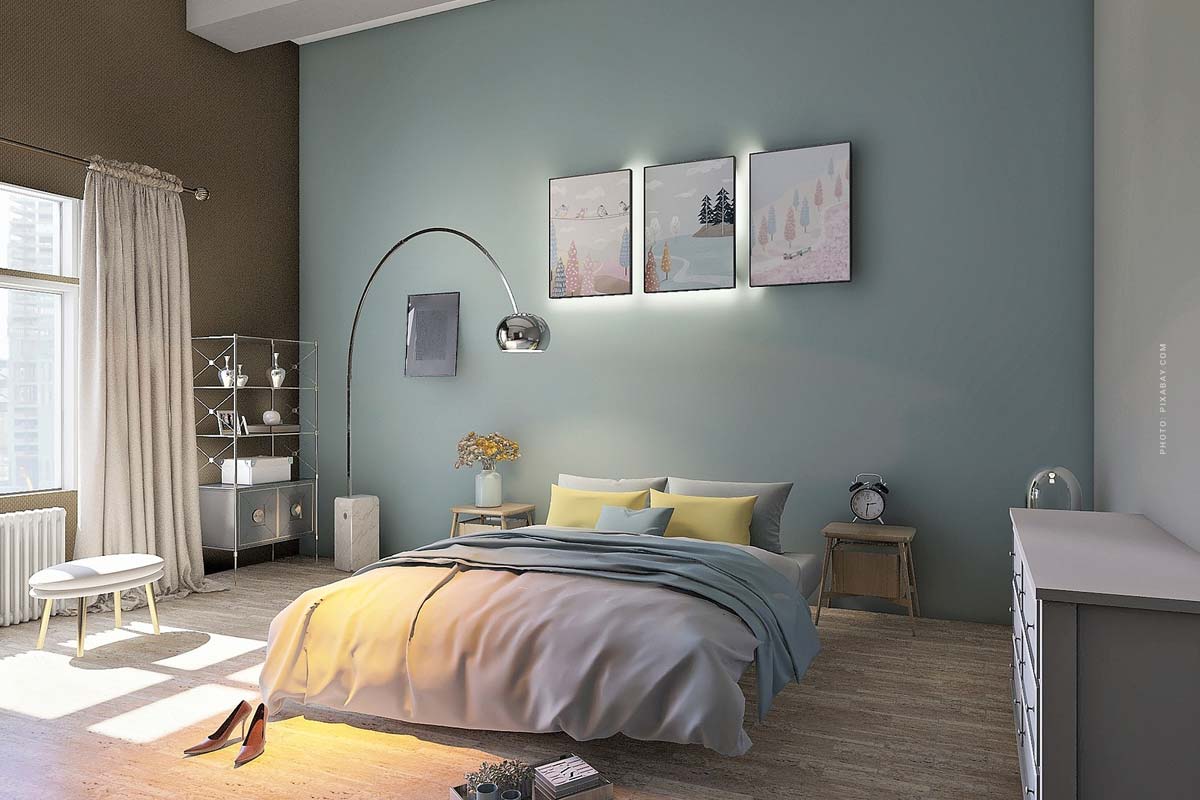
Bedroom ideas: Tips for a modern and cozy bedroom
What does luxury mean? Between ostentation and sustainability - A definition in flux

Burberry: inventor of the trench coat - brand, identity & legendary designer
Guess: Bags, Jeans & Statement T-Shirts
House / apartment for sale: No buyers? Valuation, broker, checklist - 15 mistakes
Buy Taaffeite: Occurrence, Value & Price - Investment Gemstone


Rolex, Breitling and more bling bling: watch journalist Donato Emilio on expensive luxury watches

Our.homeliving - Modern furnishings and tips for beautiful aesthetics
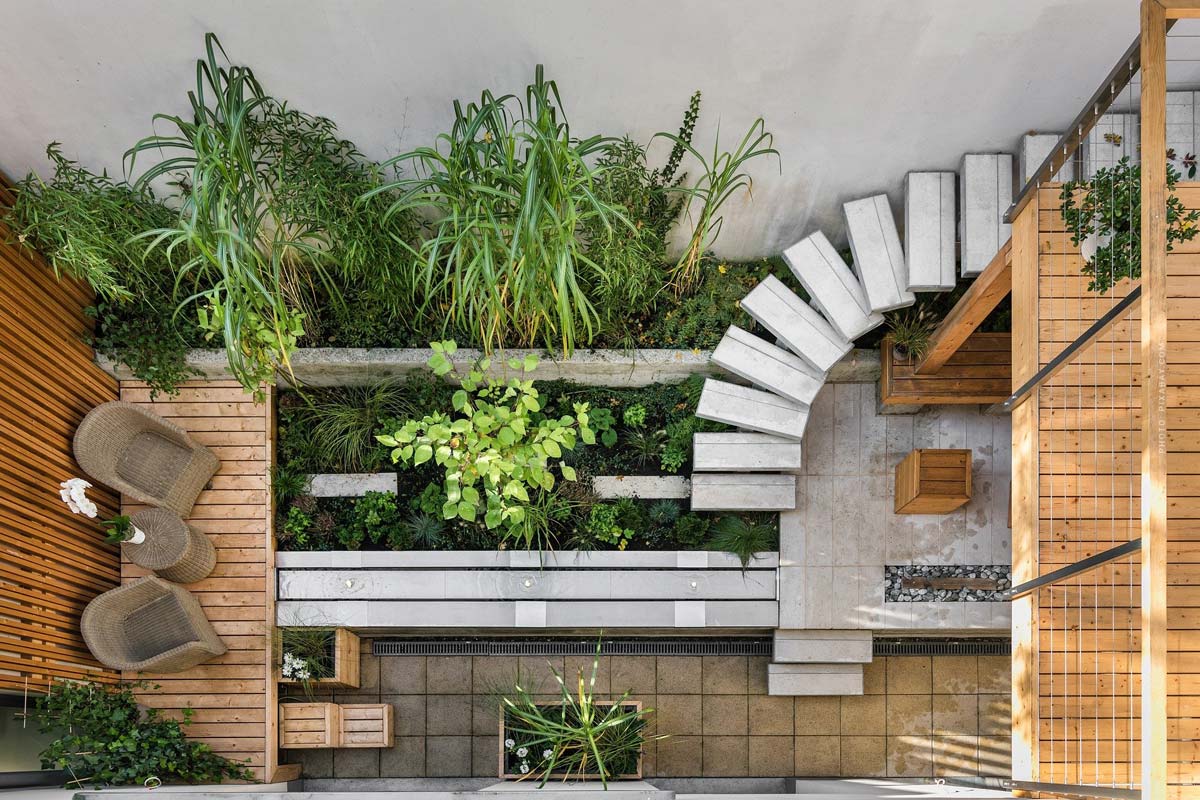
Feel good outdoors: With these 5 measures the terrace becomes an outdoor living room
Patek Philippe: New watches, prices from Calatrava & Co.