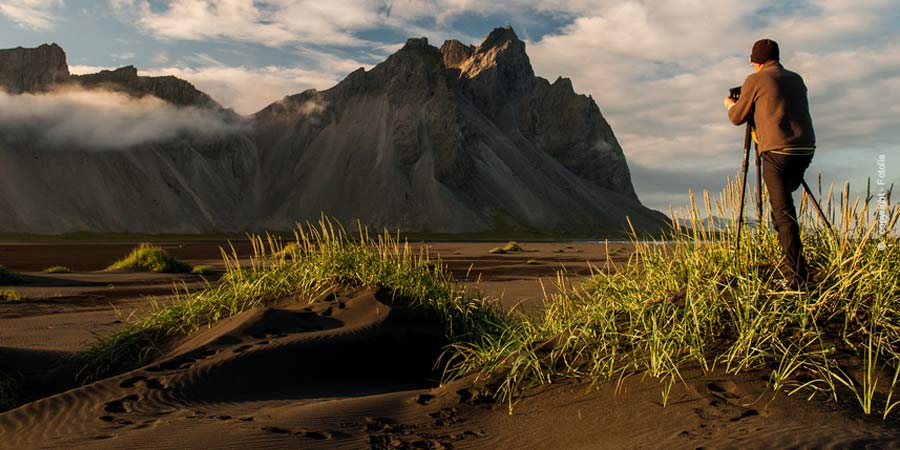
Landscape Photography – Tips for the optimal landscape photo
Landscape photography often gives the impression that it is very simple, but at home it usually shows that the shots you were so enthusiastic about are not so impressive. The disappointment is then understandably great. Here you will find tips so that you are still enthusiastic about your results at home.
Landscape photography: With 6 tips for fantastic landscape photography
1. The golden ratio
The golden ratio is certainly not an unknown term for you, because not only in the field of painting is it common, but also in the field of photography. You have the opportunity to direct the viewer’s gaze to specific points in your picture and, by applying the Golden Ratio, to conjure up that certain something in your work. Of course, the golden ratio has nothing to do with magic, but with your mental imagination. You just have to divide your photo into nine rectangles of the same size.
Draw two vertical and two horizontal lines in front of your inner eye. On these lines and intersections you place crucial elements of your images. This enables you to direct the viewer’s gaze in a targeted manner. The golden ratio is not absolutely necessary for every work, but it is a simple method so that you can optimally set your motif in scene.
2. Find beautiful reflections for landscape photos
The second tip deals with reflections in landscape photography and usually you will find them where there is water. So if you photograph a brook, lake or sea then look closely, because somewhere there you will find beautiful reflections for your photos. For example, club the tip with the reflection with the golden section and you will achieve excellent results.
3. Find exciting foregrounds
Countless landscape pictures mostly show breathtaking views of seemingly endless landscapes, imposing mountains and abysmal valleys, while the spectacular is rarely reproduced in photos as it is in reality. So that your landscape photo is not considered completely boring, you should pay attention to the foreground. Here you will often find elements such as objects, people, plants or stones that you can bring to the fore in your photo. Your possibilities here are almost limitless.
4. The icing on the cake in landscape photography – the long exposure
Do you know pictures where it looks like the flowing water is like milk or clouds blurring? These images are the result of a long exposure. If you expose over a period of 10 to 30 seconds, components of your subject will move. Here waterfalls are again a great example for the long-term exposure of landscape photography.
Due to the extended exposure time, the water receives this unique dynamic, while all rigid objects remain rigid. For this you need an ND filter or gray filter and a tripod. You screw the gray filter onto the lens and the incident light is reduced and you can expose longer.
5. Waterfalls with long exposure and the right perspective
If you always shoot your pictures standing up and at eye level, then it is advisable to try out different perspectives. Lie down on the ground, climb a small rise and squat down. Especially in landscape photography the change of perspective often has an enormous effect.
6. Also the time is important
Finally a less beautiful message for your sleep, because while you sleep comfortably it can be that you miss a unique landscape photo. Not everyone is an early riser and therefore it is often not easy to torture yourself out of bed for a photo of the sunrise, but be assured it is more than worth it. Optimal times for landscape photography are the times around sunrise and sunset.
The light is much softer when the sun is lower. The landscape to be photographed is usually much more beautiful and there is often a magical atmosphere created by the light. These periods are also called golden or blue hour.
A landscape photo in the darkness is also worth a sleepless night. Especially if you live in a rural area, because this way your chance to take a picture of a starry sky without light pollution is relatively high.


