Water drops – fascinating images from a small world – between dynamics and aesthetics
Impressive photos of water splashes and single drops amaze many people. While macro photography requires special high-speed stroboscopes, water drops can be photographed without special equipment. The only things you need are the right camera settings, good light, some water of course – and this step-by-step guide.
What you need to photograph drops of water
The easiest way is to photograph drops of water outside on a sunny day. In contrast to shooting in rooms, you don’t need any additional light outside. Your equipment should include: DSLR camera with macro or telephoto lens, tripod, remote control, food dye, medical syringe (alternative: freezer bag with a small hole), large bowl filled with water and sunlight. The following procedure is recommended:
- Step 1:
Place the bowl in the bright sunlight, preferably on a table. - Step 2:
Fill the bowl with water, reach about 3 cm water depth. Add a blue or any food colour until the water has reached the desired shade. - Step 3:
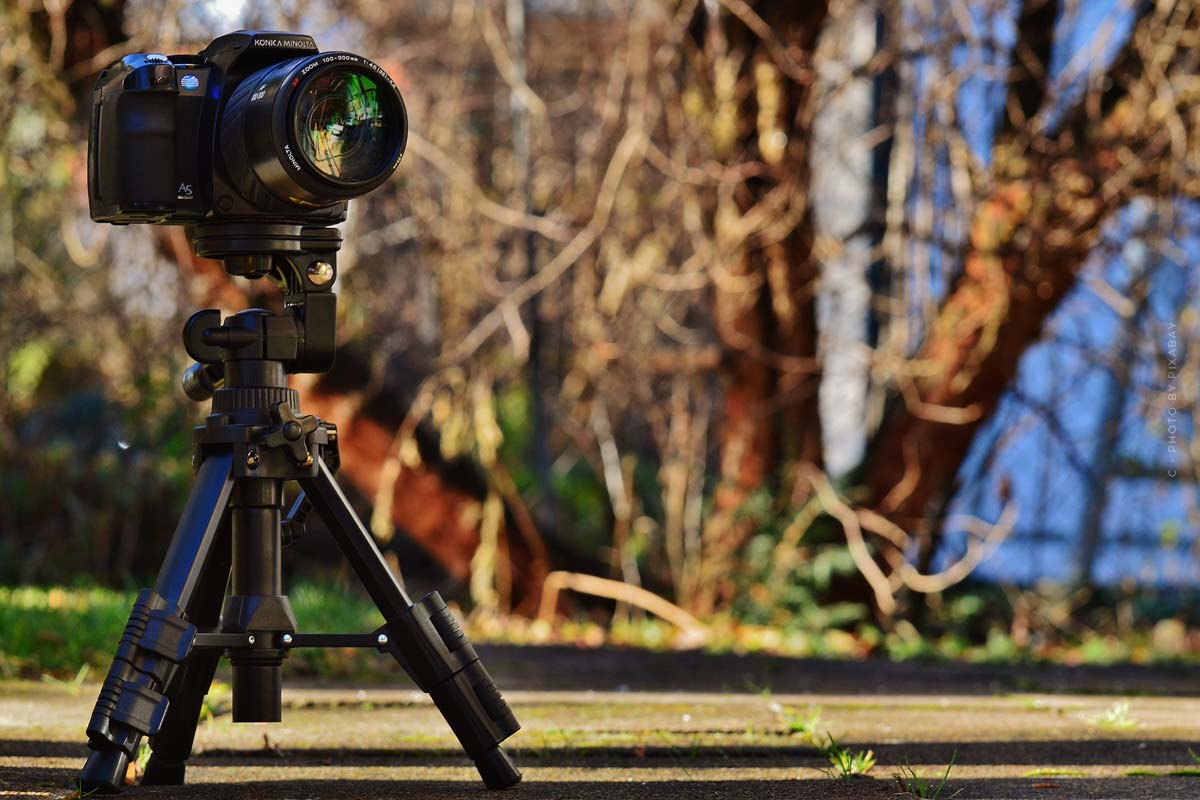
Mount the camera on the tripod. If you use a macro lens, there is a risk that water splashes will hit the lens. In this case, slide a transparent film between the bowl and the camera. You can place a telephoto lens further away, so you don’t have to spend time here. It is best to focus the image manually on the middle of the water surface and fix the setting. The shooting angle should not be too steep and the sun should be behind the camera. - Step 4:
For a macro lens, select a shutter speed of at least 1/4000 second at an aperture of f16 to f20 to obtain the necessary depth of field. If you use a telephoto lens (for example 100 mm), you can try f2.8. The values are strongly dependent on the individual lighting conditions, therefore some test shots are indispensable. - Step 5;
If you don’t have an assistant, you’re faced with the difficulty of creating a drop with the syringe and pressing the remote control almost simultaneously. This is why many photographers use a freezer bag that is fixed above the bowl. With a small hole, this bag provides a constant rate of water drops, so you only have to worry about the remote control. It is important that the drop always hits the water in the same place. The greater the drop height of the drops, the higher the water drops jump. - Step 6:
Take a few test shots and correct the exposure or aperture. After that there are a few impressive shots in the way. If you take pictures in RAW format, you have all possibilities for post-processing.
The same structure basically applies for indoor shots. Just that you need to take care of extra light. You can use a lamp or a flash. This works quite well if the light source is in front of the object and a reflector is used. Reduce the power of the flash until the water droplets are sharply focused.
In the post-processing you can try to reduce the image noise and optimize the sharpness. You can also choose a different color temperature and crop and align the image.
Alternatives and other techniques
In order for the liquid to react more slowly, you can thicken it with a thickening agent (e.g. guar gum). This means that the droplet shapes last much longer. Experiments with different water colours or the use of other liquids such as milk often yield good results. Interesting effects can also be achieved using smoke or coloured backgrounds (foils).
Result: With simple tricks breathtaking pictures with water drops can be created
Photographing images that are largely hidden from the human eye is always fascinating. Even with a relatively simple structure, fantastic images with a lot of dynamism and aesthetics can be created again and again when photographing water drops. Experimenting with different techniques often leads to amazing images from the world of water drops.
