Backlit Photography: Tips for Effective Use of Light Sources
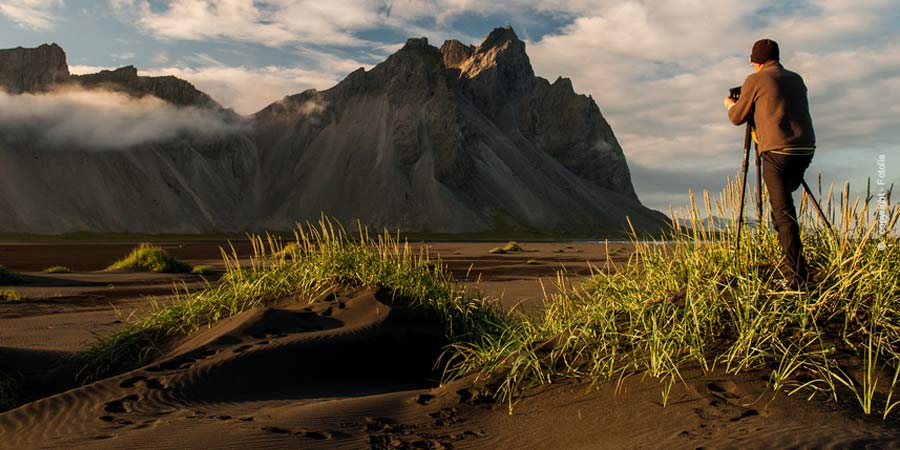
Some photos look so natural that inexperienced viewers would bet on editing them with Photoshop. Such post-processing is not necessary at all. Instead, backlighting near a photo object can create sensational effects. It is important not to include the backlight arbitrarily, but to place it in the right position for the object.
Why backlighting is not a taboo, but can be a stylistic device
Beginners should not photograph in the direction of the sun. The camera lens and the photographer’s eye could be damaged. Even objects that are too close in the direction of the sun can only appear unclear or not in the desired perspective. Nevertheless, there is nothing to stop using backlighting for atmospheric shots.
Light and shadow, especially in their partly contrasting strong counterplay and with the right camera setting, create very vivid photographs, which are just as popular for advertising purposes as for private photo albums. Backlighting on an object can make object boundaries into filigree silhouettes, emphasize textures of leaves or insects in all their delicacy.
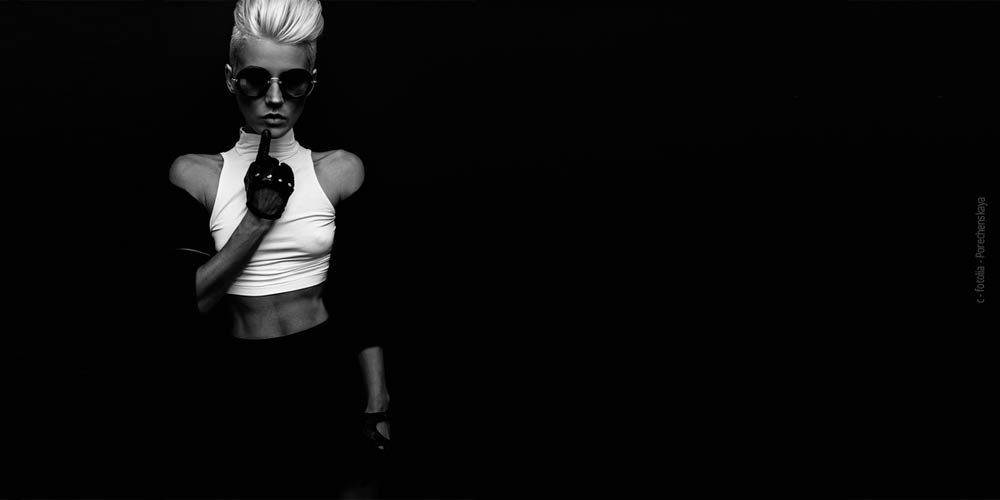
In portrait photography, backlighting can have the effect of a deliberately set light reflex. The model herself is blurred, but fine details such as blowing hair, a moving skirt hem or the bank waves right next to the model appear dark and in this proportion almost overly clear. Because everyday impressions are faded out by backlighting, other object details come to the fore all the more strikingly and turn an everyday photograph into a picture like a dream.
Now nobody wants these strange light circles on the photograph. But such reflections are the ones that can be technically very well staged. Also, not every shot in backlight necessarily has to be low in detail and high in contrast. The following simple, technical possibilities improve backlit shooting to near artistic quality.
These tips help to use or attenuate backlighting
- Lens Flare for zoom objects:
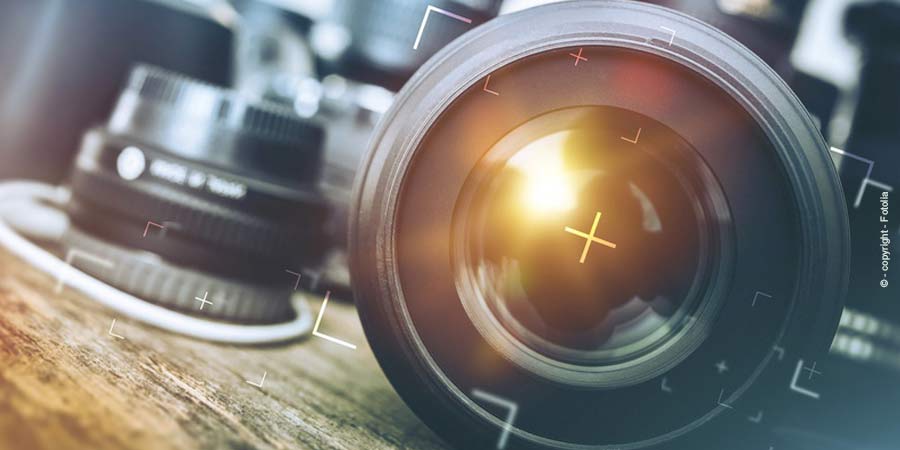
These light circles can be attenuated (if desired) either by shielding the light side of the camera by hand or by placing a lens hood on the lens of a SLR camera before taking a picture.
- Exposure correction for desired contrast centers in the image:
Each digital camera has a plus/minus setting for exposure in the menu. The correction makes parts of the image brighter, others darker. To find the ideal setting, some practice is required.
- Fool the backlight:
Beautiful shots are possible when the backlight, in nature shots the sun, disappears just behind a house front, but still falls strongly enough on the subject. If a person is photographed in this way, he or she can be positioned just in front of or next to the backlight, creating a particularly exciting light/dark effect.
- Spot measurement for auto correction:
Some camera models make it possible to automatically illuminate an image area optimally. Either the viewfinder is directed to a dark spot or, for a scissor-cut effect, to a bright area. Spot metering detects exactly where light correction is required.
- Manually focus for intentional reflexes:
Maybe an exact close-up in the backlight is not the goal of a photo at all. For snapshots that seem to be random and are definitely out of focus at the edge of the picture, you can just as well manually adjust the exposure as you want it to be. Especially without white balance, very natural-looking shots can be captured.
Result: Photographing with backlight takes a little practice with the camera
Beginners in photography are advised not to photograph in the direction of backlighting. Nevertheless, the attraction of this shooting direction lies precisely in the special contrasts created by the sun or another light source on the object and its immediate surroundings. Careful alignment and some technical tricks make backlit snapshots look like they were taken directly from life.
