Outdoor photography: equipment, technique for beginners
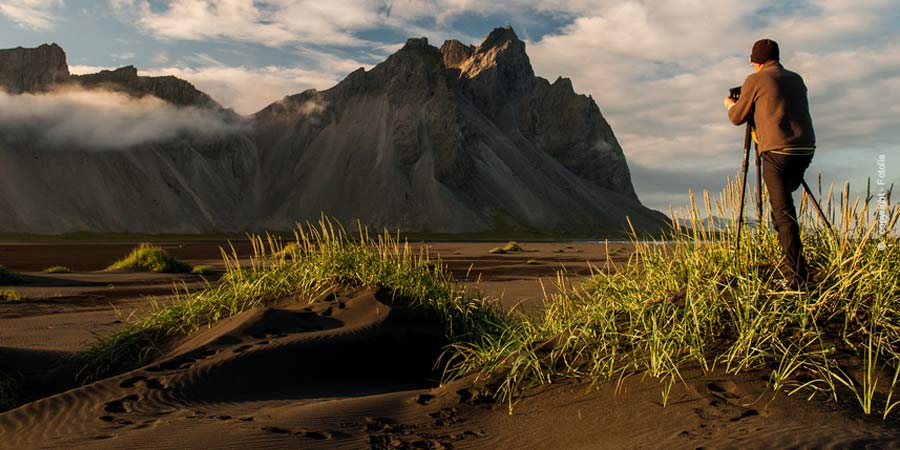
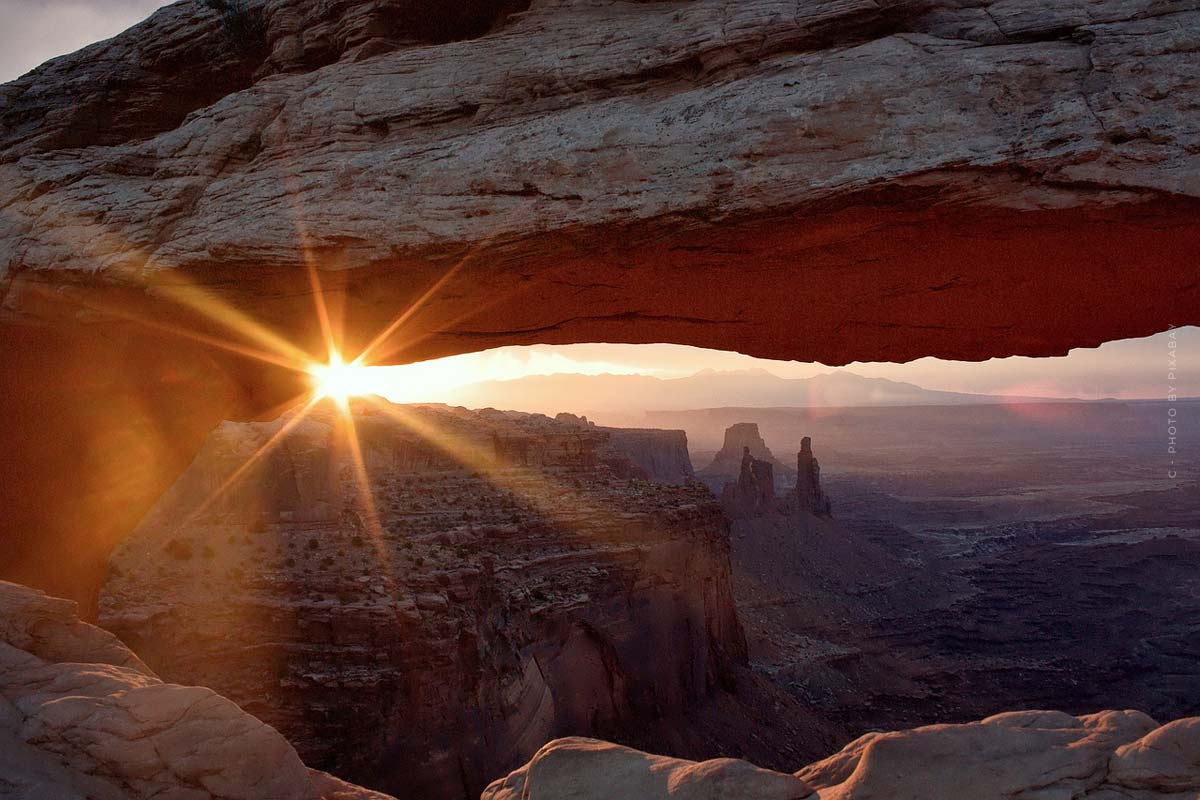
Those who like to be out in nature will certainly find many motifs, which they would like to capture at this very moment . Beginners in outdoor photography can photograph your hiking environment, landscapes, or other objects successfully with a few tips. Before the success of a shot, however, there are some basic rules, without whose observance the fun of photography becomes more of an effort.
The optimal starter equipment for outdoor photography
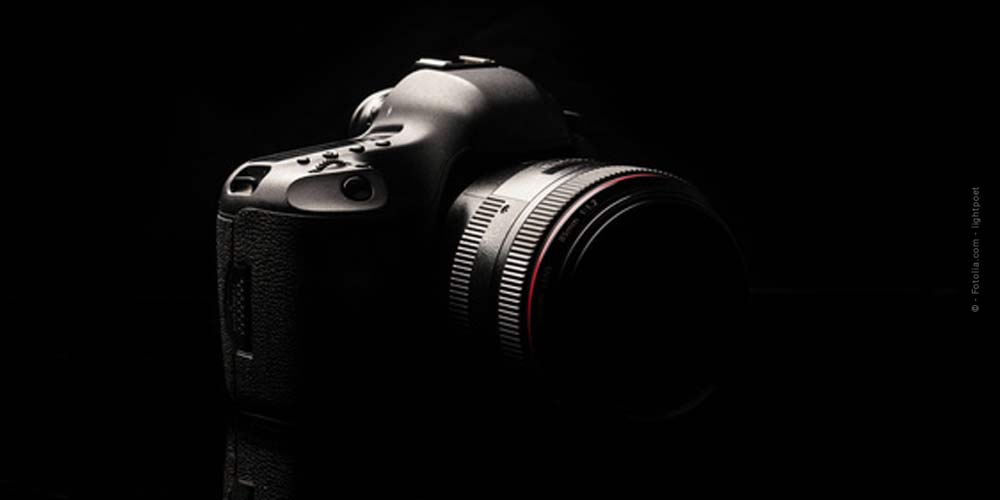
Expensive is not necessarily optimal, this also applies to the camera. Automatic functions such as ISO value, exposure time and aperture must be manually adjustable if necessary. In addition, a camera on which interchangeable lenses can be mounted is optimal. Both requirements are met by digital system cameras or digital SLR cameras. Digital system cameras are easier to handle for hikes, climbing excursions and just as much easier.
These take up very little space in the backpack or hand luggage and are hardly noticeable in terms of weight. For the equipment it also applies that there should not be too much. A beginner is better off using only those accessory elements that they can easily handle in the great outdoors. Even professionals only carry a few accessories on their hikes to make them as handy as possible. Important are interchangeable lenses and a tripod suitable for off-road use (best folded up small enough for the backpack). External flashes can be useful, but are only suitable for outdoor photography if the user is able to use them advantageously.
Outdoor photography – know the technology well, then use it
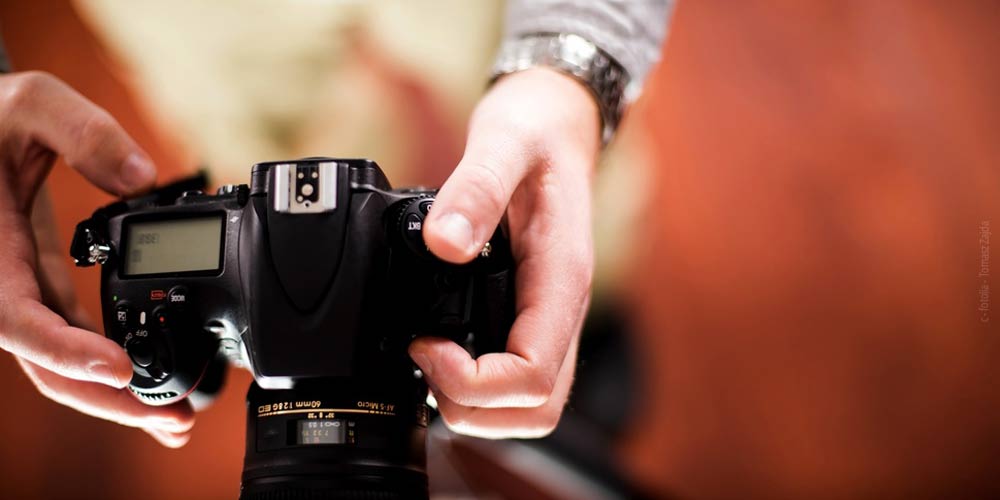
The available functions are explained in the manual of each camera. Many of them are automatic, some can also be selected manually. Before the first outdoor use, exercise photos according to the manual instructions are a good training and in any case recommended. But not everything that is possible is also used in nature.
It is therefore important to master a few important functions well and to gradually get back to the others as the photos of the hike gradually become more professional. Knowledge of the ISO value, aperture and exposure time is crucial. Convenient photographers can leave automatic settings to the digital camera here. But it is more creative to set the values manually in order to capture the photo object in the best possible way.
video tutorials as tutoring
If the information in the manual and your own experiments are not sufficient at first, then video tutorials on certain camera models are helpful. This can even be researched before a purchase decision is made: Which models can be learned most quickly with these tutorials? RAW formats are better suited for outdoor images than JPG. In RAW format, the images still contain all image information in uncompressed form.
This corresponds to the classical recording in the negative, which is developed only afterwards. Also RAW formats are developed only then, however virtually, thus with appropriate software. Managing outdoor photos is a learning process that takes place only after the image has been captured. Editing and managing gradually lead to really ambitious amateur photographers “shooting” better and better pictures on a permanent basis. This also includes experiments in the wild, for example changing perspectives (as intuitively as possible instead of according to doctrine), intentional disturbance motifs during a shot and of course more than one photo of each experiment.
Result: new, fascinating motifs can be discovered everywhere in nature
Outdoor photography offers endless possibilities for exciting photos in the middle of nature due to the diverse landscapes. Beginners should buy rather handy, light cameras and only the most necessary accessories. This can be expanded at will once the user has learned the best way to use the camera. For really beautiful nature shots, the amateur photographer should also consider the possibilities of the subsequent image editing and management.
