Camping Cooking Tips: Recipes, Grilling with Meat & Vegetarian
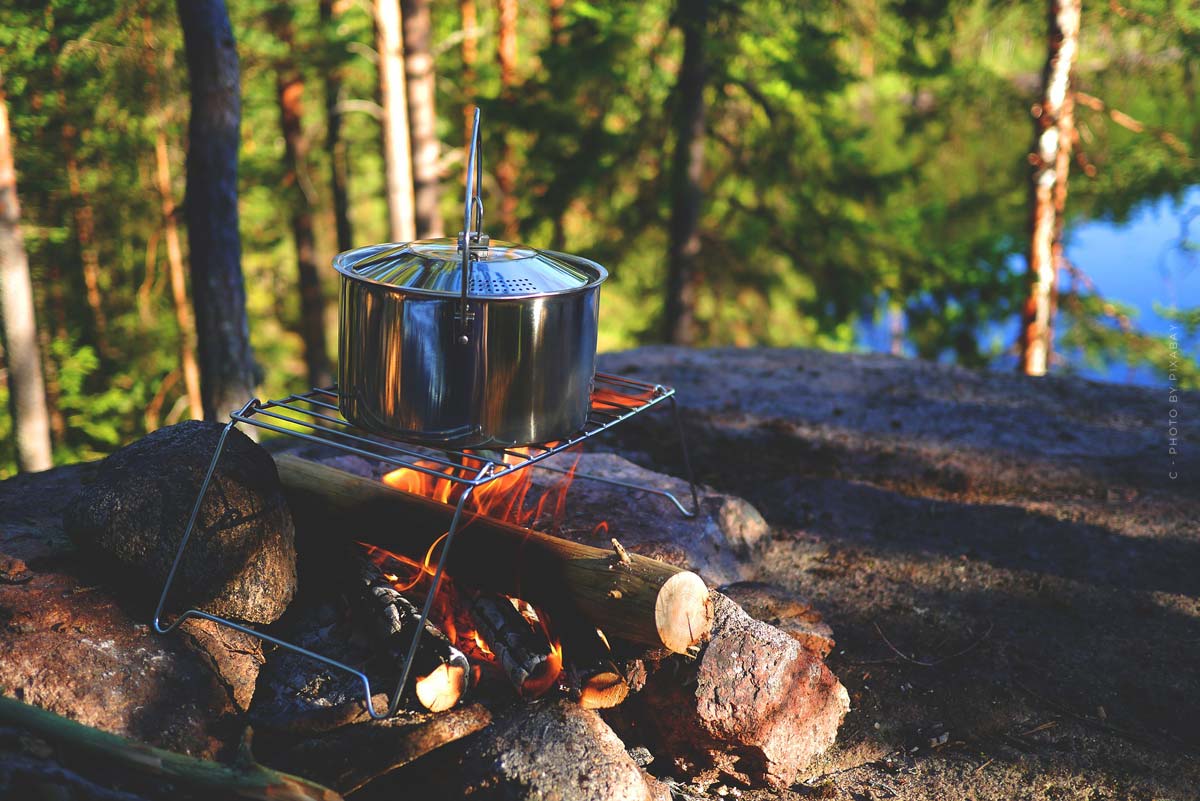
There’s a certain nostalgia when it comes to spending the night around the campfire to see who can roast the best marshmallows. Unfortunately, that cozy, flannel-covered feeling tends to fade after the second day in a row of cold hot dogs and leftover marshmallows for breakfast. Camping food is surprisingly delicious. Luckily, people don’t have to live on packaged sausages alone when they’re in the great outdoors. As long as you take these six tips to heart, we promise it’s still possible to make a great meal on your next camping trip.
The 6 ultimate cooking tips for campers
Camping food is surprisingly delicious. Luckily, people don’t have to live on packaged sausages alone when they’re in the great outdoors. As long as you follow these six tips, we promise that it’s still possible to make a great meal on your next camping trip.
1. preparations in advance
You’ll save an incredible amount of time on site, and on unmotivated days, you’ll be thankful you prepared everything in advance. It’s hard enough to chop onions in a real kitchen, let alone with a dull knife on a rickety picnic table. Just do like the butchers at Whole Foods and prep your ingredients, or better yet, your entire meals, in advance. Take rib-sticking stews and hearty chilis in storage-friendly Ziplocs or stackable deli containers, and when the sun goes down, all you have to do is heat them up.
2. keep it simple – the strength lies in simplicity
Keep meals as simple as you can. As much as we like to show off our 5 star chef skills, culinary theatrics should be left at home as soon as you pull out of the driveway. Your family won’t judge you for sticking to simple one-pot meals like braised chicken thighs, but they will judge you for making them eat trail mix for dinner after your campfire soufflé experiment goes awry.
3. do not cook every day
You don’t need to cook every day, if you look around properly you’ll have plenty on your plate. Before you head out, pack a selection of foods that are ready for immediate consumption such as cured meats and a few pieces of hard cheese. It’s important that these survive in dry conditions, outside the fridge. Add to this a bottle of wine and the gourmet party can begin!
4. minimalism
Really only bring the bare essentials. Unlike your favorite nonstick skillet, a high-sided cast iron skillet needs no coddling, making it the perfect companion for outdoor cooking. It can fry bacon in the morning, reheat pot roast in the evening, and, yes, sear hot dogs, and when you’re done, all you have to do is wipe it down. That’s why don’t try to tick off the mile-long packing list, but sort your stuff neatly in advance and you’ll save on unnecessary weight, have less to worry about and less to clean.
5. cool box – Clever & Practical
Pack the contents of your cooler smartly.
Freezing all the meats you plan to cook will keep your cooler frosty once packed, and with a little planning, they’ll be perfectly thawed by the time you’re ready to munch on them. You might also consider having them thawed in advance. For one thing, they’ll be sturdier, you won’t have to worry about packing them with raw ingredients, and they’ll only need a quick reheat at dinner. Either way, it’s never a bad idea to have a thermometer on hand just to make sure your ice chest is a fridge-worthy temperature.
6. plan B – always be prepared
Dusk is not the best time to realize you’re completely incapable of building a fire. Take the portable butane stove with you just in case, and you won’t have to eat jerky for dinner.
Whether your idea of the perfect picnic is cooking in the wilderness or sipping a summer cocktail at a sidewalk cafe, we’ve got everything you need to spend your summer in the wild. Let the outdoor entertaining begin.
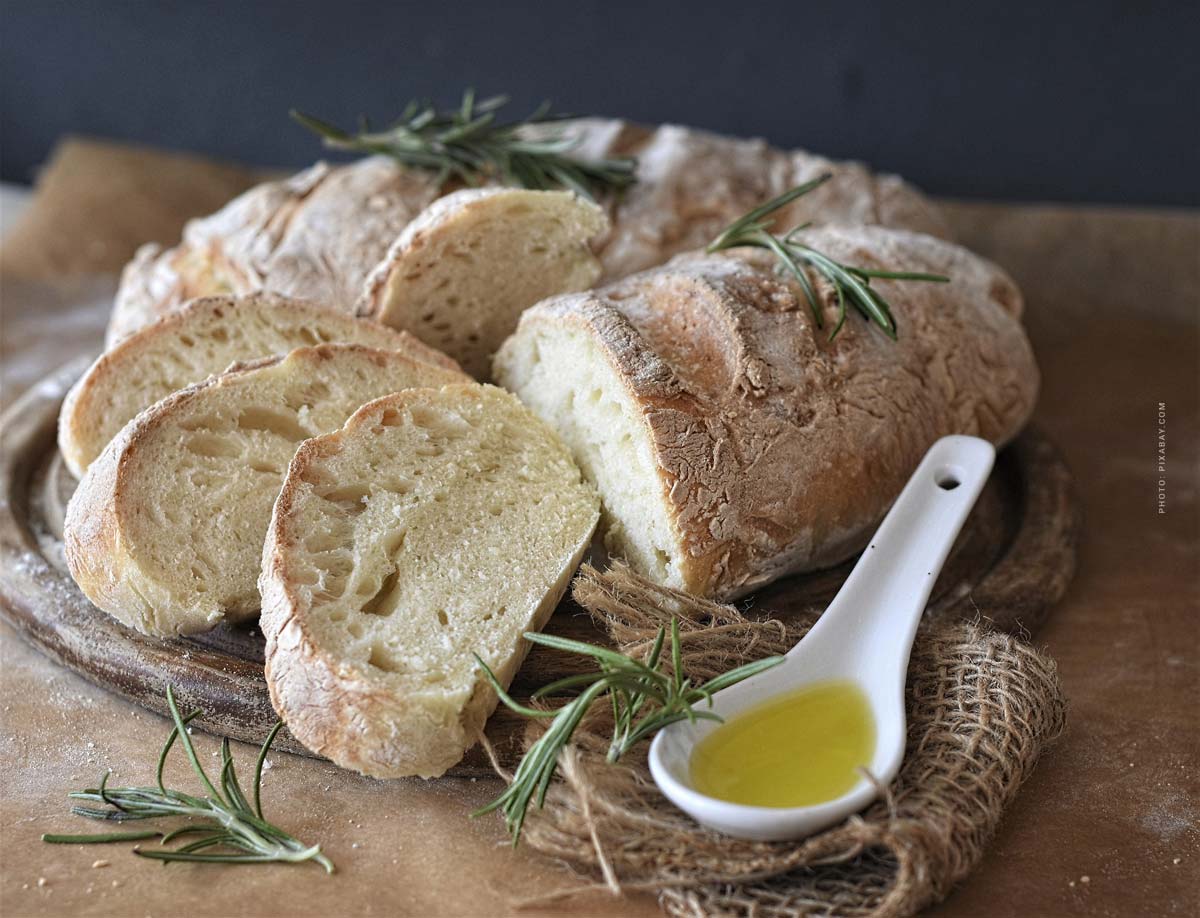
The 5 best recipes – Quick cooking
When you’re camping, hiking, and backpacking, you have a lot going on. Unfortunately, gourmet food isn’t usually one of them. It can be downright impossible to pack enough food and gear to make delicious and varied meals, right? Wrong! With the right know-how, you can make amazing meals without a lot of gear or ingredients. Check out these 25 easy camping recipes that use 5 ingredients or less and you’ll never cook the same way again
1. campfire scrambled eggs
I know what you’re thinking, “everyone scrambles eggs, it’s no big deal.” But hear me out. Most scrambled eggs that people make are either lifeless, disappointing, and just plain pitiful. Especially the eggs made while camping. But if you sublimely master this recipe, cloud-like eggs will be your reward.
Ingredients
- Eggs
- Water
- Clarified butter
Preparations
Put your ingredients in a sauce pan or pot. Not a frying pan, as you’re probably used to. Preferably, leave the yolks unbroken at first. If one breaks when you crack it, that’s fine. Start away from the fire and just stir to mix the egg whites and water. Then put the pot over the fire. Once the eggs are warm, you can break up the yolks and mix the eggs together. At this point, the butter should also start to melt. When the butter melts, take the pot off the heat and keep stirring. You want to keep taking the eggs off the heat and then turning them back on. We’re looking for a slow heat that barely cooks the eggs and melts the butter, but that’s about it. Usually it will be a routine of 30 seconds over the fire, 15 seconds off. Once the butter is completely melted and scrambled, you can leave the eggs on the fire a bit longer. Keep scrambling until the eggs just come together. Your eggs won’t seem done, and they’re not. But take them off the heat anyway. The residual heat in the pan will bring your eggs to perfection. By the way, you can cook your eggs this way at home, too.
2. grilled sweet potato fries
Fries are part of the holiday, relaxed times not prepare a 5-course meal is just the desire of many parents. children are always happy about fries and the sweet potato variant is definitely a bit healthier!
Ingredients
- 2 medium sweet potatoes
- 2 tablespoons olive oil or vegetable oil
- 1 clove of garlic, chopped
- 1 teaspoon chili powder
- 1 package Ranch Dry Mix
Preparation
Wash the sweet potatoes and dry them. Then cut them into lengthwise strips, about 1/3 inch wide on each side, so they look like French fries. The most important thing is that they are uniform so they can cook at the same time. If you wanted to make a crispier fry and you have the time, soak the fries in water for 30 minutes and then let them drain for an hour before proceeding. If not, that’s fine, they will still be delicious.
Take all the ingredients and mix them together in a bowl. We want an even distribution of all the yummy seasonings and dry mixture. Place these fries on a piece of aluminum foil set over a sheet pan. Place the pan on a grate over an open fire or on the center rack of a grill. We want to cook the potatoes and get the outside nice and crispy. Depending on your heat, you want about ten minutes per side, flipping once.
3. muesli over the campfire
Sure, you could make granola at home before you head out to the campsite. But when you make your granola fresh and over an open fire, you give it savory properties that add flavor, aroma, and texture.
Ingredients
- 6 cups rolled oats
- 2 cups pecans or almonds
- ½ cup vegetable oil
- ½ to 1 cup maple syrup
- 1 cup dried cranberries
Preparation
Get a cast iron skillet that’s nice and hot. Add your nuts and toss them around. It’s a good idea to take the pan off the heat while you toss them around to make sure they don’t burn. Once they start to have a nice nutty smell, you can add the oatmeal. Cook them slowly over the fire until they turn brown and nutty.
Remove the pan from the heat and add the vegetable oil and maple syrup. Depending on what consistency you like, you may want more or less syrup. Toss this together and when it’s completely mixed, pour it into a bowl. Add the dried cranberries and eat it warm. You can also keep it covered and it will last for more breakfasts.
4. potato egg scramble
This healthy breakfast is an easy camping meal and a great way to start the day. It’s prepared in a skillet and served four at a time.
Ingredients
- 2 medium diced potatoes
- 8 eggs, scrambled
- 1 chopped onion
- 2 chopped peppers (your choice)
- 2 tablespoons butter
Preparations
First, put 1 tablespoon of butter in your cast iron skillet and place it over your fire. Melt it and spread it everywhere.
Second, add the potatoes, onions and peppers. I like the potatoes in chunks and the onions and peppers chopped, but it’s your choice. Cook these until the potatoes are tender and the onions and peppers are nice and cooked. It takes about 20 minutes, but it depends on your fire.
Third, add the next tablespoon of butter and, once melted, add the eggs. The eggs will fill all the spaces between the potatoes, peppers and onions. But to ensure even cooking, cover the pot with a lid or aluminum foil and let it cook until the eggs are nicely cooked, about 4 minutes.
5. fish fillet fried in beer
Beer and fish does not fit at first sight? This recipe is a real treat and is also easy to prepare!
Ingredients
- 1 pound of fish fillets, half a pound per person, for two
- 1 cup buttermilk pancake mix
- 1 cup beer
- 1 cup flour
- ¼ cup cooking oil
Preparation
The first step is to open the beer and take a sip. We want the oil to be nice and hot when we’re done cooking our fish fillets, so we should warm it up now. Good job! Take another sip of beer!
Our fish fillets need to be cleaned and dried. You could buy these fish fillets at a store, but hopefully you caught them yourself, skinned them, cleaned them, deboned them, and dried them (because I can’t do that). Anyway, take your fish fillets and dredge them in the flour. We just want an even layer of flour all over the fish. Take another sip.
Now we want to mix the pancake mix and about ¾ cup of beer together. The rest of the beer is for you. Mix it with a fork until it’s smooth. Now we want to take our floured fish fillets and dip them into the batter. Again, we want an even coating.
Add these fish fillets to the oil and cook until the outside is golden, brown and delicious. When the outside is done, the inside should be nice, moist and shiny. Only cook two at a time as the pan is too full when frying is a big no-no.
When they’re all done (and you’ve eaten the first lightly fried fish fillet, just to make sure it’s done, and then finished the beer), let them drain a bit on a paper towel. After that, you can sprinkle them with some dill, pepper, or lemon, but it’s not really necessary. They’re pretty perfect just the way they are.
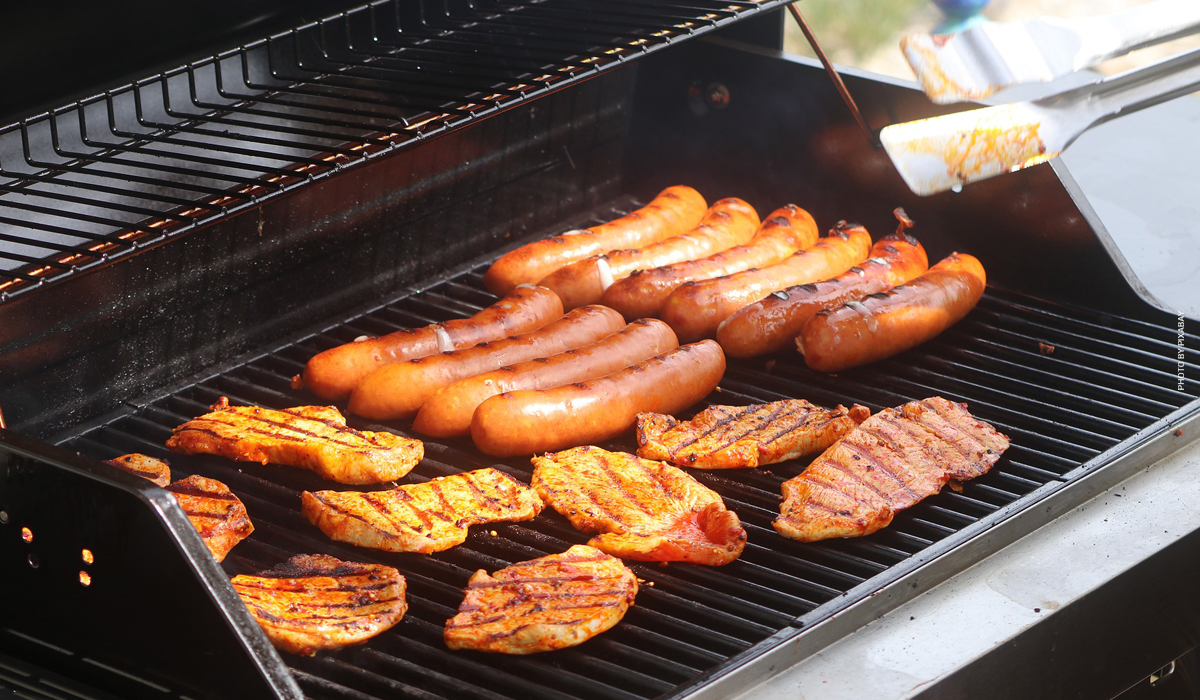
Barbecue – techniques for the best meat
Grilling season is upon us, so dust off those tongs and start cleaning those grates before
Red meat – How to grill red meat
The best cuts of meat, like rib eye, strip steak or filet mignon, have the highest marbled fat content, making them tastier, more tender and rich in meaty goodness. But they’re also the most expensive. You can get more bang for your buck with less expensive cuts like hanger steak, skirt steak and sirloin steak, which are flavorful and delicious when grilled. Here’s the secret: marinating the less expensive cuts makes them more tender, flavorful, and helps them retain moisture when cooked.
Always preheat your grill. Whether you are cooking over gas or charcoal briquettes, the grill must be fully preheated before cooking. Starting the grill 10 to 20 minutes ahead of time will help ensure proper cooking temperatures, which in turn will help prevent sticking or undercooking. Buy a cheap meat thermometer. The temperature gauge will tell you with great accuracy whether the meat is rare, medium-rare, medium or well done.
The position of your meat on the grill is also important. Steaks should be cooked quickly over the hotter area of the grill to get a good char. Searing the surface of the food at a high temperature results in the formation of a caramelized crust and is crucial for flavor development! For more on grilling red meat, especially the classic, steak, check out this article.
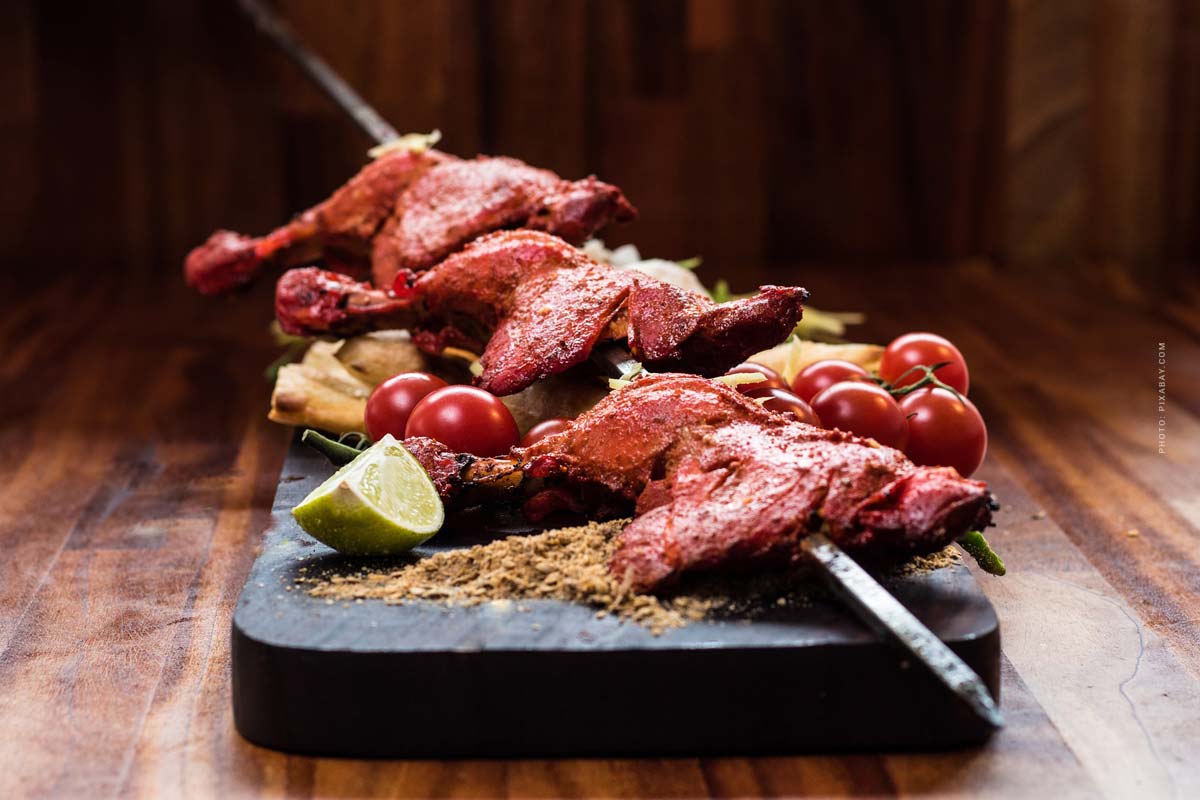
Fish – How to grill fish
Do not be afraid of grilled fish! Many types of fish can be grilled very well. Salmon, tuna and swordfish are all excellent grilled fish. Shrimp are also perfect to cook on the grill. You can put them all right on the grill without them falling apart. But other fish that are more on the flaky side are not suitable for grilling on the grill (cod, perch, haddock, snapper, etc.). Fortunately, there is a solution. Grill baskets are widely available, affordable, and allow you to prepare all kinds of fish on the grill. They help hold the fish together while giving it all the smoky, charred goodness of cooking over the flames. They are also great for grilling whole fish.
Cooking fish is a matter of taste. Some people like salmon and tuna grilled medium-rare, others prefer their seafood well done. As with chicken and steak, a thermometer will help you determine your preferred level of cooking without cutting into the meat.
Fish is better prepared if it is placed on a hot grill surface. This will prevent it from sticking to the grill grates, and it will cook very quickly in this place.
Chicken – How to grill chicken
Boneless chicken thighs are the moistest and most delicious part of the bird, in my opinion. But the breast can be just as tasty if prepared properly. Chicken breast tends to dry out if you don’t know what you’re doing. I also like to leave the skin on the breast, which makes the bird juicier and gives it more flavor.
Marinating also contributes a lot to the taste. The best marinade for a juicy chicken is very simple:
- 1/2 cup soy sauce
- 1 tablespoon freshly ground pepper
- 1/2 cup chopped fresh lemongrass (from 2 stems)
- 1/2 cup fresh lime juice
- 1/2 cup asian fish sauce
- 2 tablespoons crushed red pepper flakes
- 1/2 cup sugar
Ideally, you should marinate chicken overnight, but even a 2-3 hour soak makes a big difference in flavor and texture.
Chicken is best cooked on the more medium area of the grill that is not super, super hot. This way it can be fully cooked throughout and avoid burning the outside. The chicken is cooked when the juices run clear when pierced with a fork. However, you should also use a thermometer to make sure the internal temperature reaches 165 degrees.
Cleaning – How to clean your barbecue
A grill that is ready to cook must be two things: clean and hot. Always clean your grill with a suitable brush before and after cooking. After cooking, clean the grill with a brush and then “season” it with a paper towel dabbed with cooking oil.
Buy a new, stiff metal brush every few months during grilling season to keep your brush fresh and effective. Old brushes can be dangerous. If they are overused and worn, the bristles can come out and end up in the grill or food.
Steak – Must Have on the Grill
How do you grill a perfect steak? That’s quite an art, if it’s not the taste, it’s the time when you take the steak off the grill. It should not be too dry, but also well done, a real challenge! Here are 5 tips for grilling your perfect steak.
- Early salting of the steak for more intense taste
- Allow steak to thaw before grilling
- Sauté to intensify the flavor
- Cut thicker steaks in half
- You can’t save a dry steak
Early salting of the steak for more intense taste
There is a belief that salting meat too far in advance of cooking can draw moisture out. While it’s true that salt can draw moisture out on its own, it’s also true that over the course of 20 or 30 minutes, this can actually be a good thing, as the salt begins to dissolve in the little bit of moisture that has been drawn out.
So when you drop the steak on the hot grill grate, all the sugar and protein in the moisture mixes with the salt and any other seasonings you’ve added to create a perfectly crispy crust. The taste of that delicious crust is worth any moisture you can lose.
Allow steak to thaw before grilling
The goal is to grill steaks until they are brown, with a slight charring on the surface, while making sure the inside is cooked to perfection and juicy, right? However, if the steak is too cold, it can take so long for the inside to reach that perfect juiciness that the steak overcooks and becomes gray and dry. To remedy this, let steaks sit at room temperature for 20 to 30 minutes before grilling them. Then they cook faster to the center and stay juicier.
Sauté to intensify the flavor
One rule of thumb that separates professional chefs from many home cooks is that chefs sear their steaks longer. This is because professionals know that you can capture aromas and flavors on the surface of steaks by searing them, so they let their steaks sizzle over direct heat until the surface is dark, dark brown. Don’t think that searing “traps the juices.” That’s a myth. But searing definitely makes a steak much tastier.
Cut thicker steaks in half
High heat is the only way to grill most steaks perfectly. If you see flare-ups, that’s the only time you’d really need to move them around on the grill. Some cuts of steak are so thick that grilling them over direct heat alone would cause them to burn on the outside and not achieve the desired internal firmness. Therefore, for steaks thicker than an inch, consider the sear-and-slide approach. After searing both sides nicely over direct high heat, move the steaks to a not-so-hot part of the grill, ideally over indirect heat, and finish the grilling process there.
You can’t save a dry steak
Steaks that are grilled at high heat lose moisture. This means that the fat and juices are literally squeezed out of the meat. Over time, as we have made steaks easier to digest, this is an unfortunate reality. Perhaps the most important part of preserving that moisture when grilling a steak is to remove it from the fire before it gets too dry.
Usually you only have a minute or two to execute this. When steaks go from medium rare to medium or medium to medium, it can go fast. You need to be vigilant to catch this window. Never walk away from a steak on the grill. Be careful because it is always better to remove a steak when it is undercooked than to let it overcook because you can always put it back on the grill.
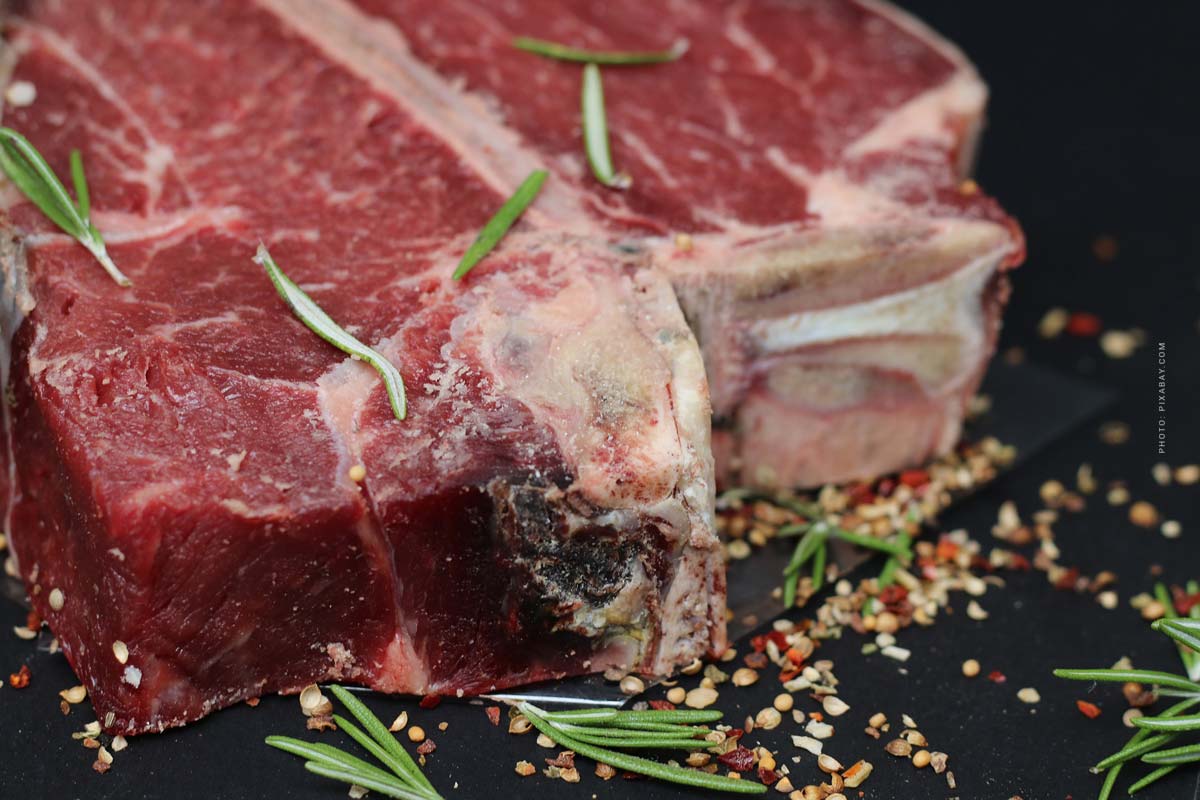
Vegetarian – Top 5 recipes for campers
Are you a vegetarian camper? If the answer is yes, then we are here to help you. We understand how difficult it is to go camping and find simple, yet tasty vegetarian recipes. That’s exactly why we’ve compiled a list of the 5 best vegetarian recipes for camping!
If you haven’t tried smoked sea salt on your grilled veggies – You’re really missing out!
- Pasta Primavera
- Chili lime corn on the cob
- Grilled tofu & soba noodles
- BBQ Baked Sweet Potatoes
- Campfire Cake
Pasta Primavera
We’re suckers for pasta, so this was right up our alley. This is such a simple recipe and it turned out perfect in the Dutch oven. We found that using 17 coals on top and 14 on the bottom was perfect for it.
Ingredients
- 1 jar of pasta sauce
- 1 package mozzarella cheese
- 450 g any vegetables
- 1 package noodles
- 1/2 cup grated parmesan cheese
Preparation
Combine pasta sauce and half of the mozzarella cheese and parmesan cheese in a large bowl. Then cook the vegetables and pasta. Then mix everything together preferably in a casserole dish and sprinkle with the remaining mozzarella cheese. Finally, cover with aluminum foil and bake in a Dutch oven for 25 minutes.
Chili lime corn on the cob
Corn on the cob is such a traditional food. This recipe gives it a little twist and makes it quite tasty. This recipe doesn’t need to be adapted because it’s already campsite. If you’re cooking directly over the campfire grate, be sure to wrap the corn on the cob in aluminum foil or clean the grate well.
Ingredients
- 4 peeled corn on the cob
- 2 tablespoons butter
- 1/2 teaspoon chili powder
- 1/2 teaspoon grated lime zest
- 1/4 teaspoon salt
- 1/4 teaspoon freshly ground black pepper
Preparations
Put the corn in a bowl, cover the bowl with wax paper and put it over the fire. In the same way, put the butter in another bowl and wait for it to melt. Then stir in the chili powder, lime zest, salt and pepper and finally spread the butter mixture evenly over the cooked corn.
Grilled tofu & soba noodles
We made this dish for dinner and our family loved it! To make it as easy as possible for us at the campsite, we did a lot of the prep work ahead of time; we cooked the pasta and made the dressing. We used the campfire grill grate to grill the tofu and it turned out pretty darn tasty! Click here for the recipe.
Ingredients
- 340g dried soba noodles
- 180 ml extra virgin olive oil
- 450g extra firm tofu (drained and patted dry)
- 3 medium garlic cloves
- 3/4 teaspoon fine-grained sea salt
- 3 small/medium shallots
- 3 small Serrano peppers (chopped)
- 1 bunch (about 4 handfuls) coriander (stems trimmed)
- 1 teaspoon natural cane sugar (or brown sugar)
- 2 teaspoons fresh lime juice
Preparation
First, cook the soba noodles according to package directions, salt them generously, and then rinse them with water and oil. You can leave them in a large plastic bag in the fridge overnight until you’re ready to use them!
The dressing is a little more challenging. Crush the garlic and salt into a paste, then add in the shallots one at a time, as well as the peppers and cilantro, a handful at a time. The mixture should be fairly smooth. Add the sugar and then the lime juice, before gradually whisking in the olive oil. Taste and adjust the flavors if necessary.
Cut the tofu into slabs, carefully rub with olive oil and place on a medium-hot grill. Cook until golden brown on one side, flip and grill on the other side as well.
To assemble, sprinkle the soba noodles with a good amount of the dressing, leaving enough to drizzle generously over the tofu. Place the tofu on top of the noodles and drizzle with more dressing.
BBQ Baked Sweet Potatoes
This was another super simple yet tasty recipe. There’s just something about potatoes cooked in aluminum foil that makes them extra tasty. No prep is even needed in advance, just throw in some aluminum foil and cook.
Ingredients
- 8 medium sweet potatoes
- 4 teaspoons olive oil
- 4 tablespoons Greek yogurt
- 1 spring onion sliced
Preparation
Rub each potato with a little oil and salt, then wrap it in a double layer of foil.
As soon as the grill coals glow red, place the potatoes directly on them. Cook for 15 mins, turning with tongs, then cook for another 15 mins. Remove one, unwrap it and check that it is cooked through.
Peel the top of the foil off each potato, cut open and cover with a spoonful of yoghurt and a few slices of spring onion.
Campfire Cake
Not only was this recipe fun to make, but it turned out delicious! We had never heard of this type of cooking before, so it was interesting to try. Don’t worry, we saved all the oranges we cut out and ate them throughout the day. Nothing needs to be made ahead of time, so this is a pretty easy recipe for a weekend of camping.
Ingredients
- 4 oranges
- 150 g dark chocolate
- 100 g butter
- 2 eggs
- 60 g sugar
- 40 g flour
Preparation
First you have to cut a slice off the top of the orange. Then remove the flesh from the orange. Simply fill the muffin batter into the orange. Put the cap back on and wrap it in aluminium foil. Then put them in the embers, wait about 15 minutes, carefully take them out and let them cool down a bit.
Voilá orange cake
Mobile devices for the camping weekend
You want to go camping soon and have no idea what kitchen utensils you need to take with you to be able to provide yourself. Here you will find the important equipment that must be there for a successful camping trip.
- Gas stove
- Katuschenkocher
- Espresso maker (mocha)
- Grill
- Cooler
- Camping kitchen
If you want to know how to use the devices and what the advantages are, you can find out everything about each of the above terms in our camping lexicon. Simply click on the term and you will find out what you need to look out for when buying.
